There are hundreds of adorable examples of how to start seeds in eggshells and toilet paper rolls floating around on the internet. Pinterest has entire boards devoted to the subject and, as a consumer of all things gardening with kids, I’ve tried most of them. To save you the frustration and time of fiddling around with these (mostly) impractical methods of seed starting with kids, I present to you my time honoured tradition of how to make a paper seed pot with kids! Seriously, this is the most successful way to start seeds with kids…
Paper Pot Maker
I am fond of using the paper pot maker. It is durable and water resistant, so we can use them outside in the garden classroom. These paper pot makers are tough enough to be dropped in the spring garden, wiped up or rinsed off, and used for decades to come. You can order these pot makers from Canada’s Non Profit Outdoor Learning Store here.
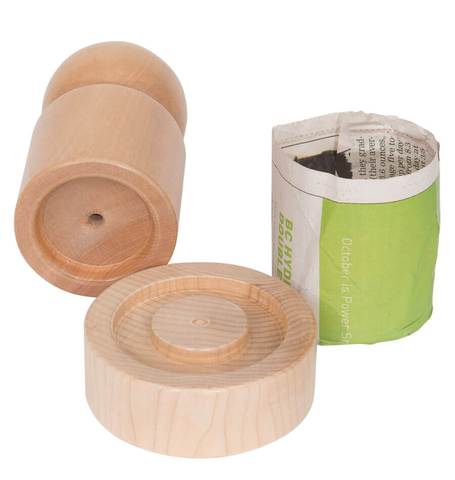
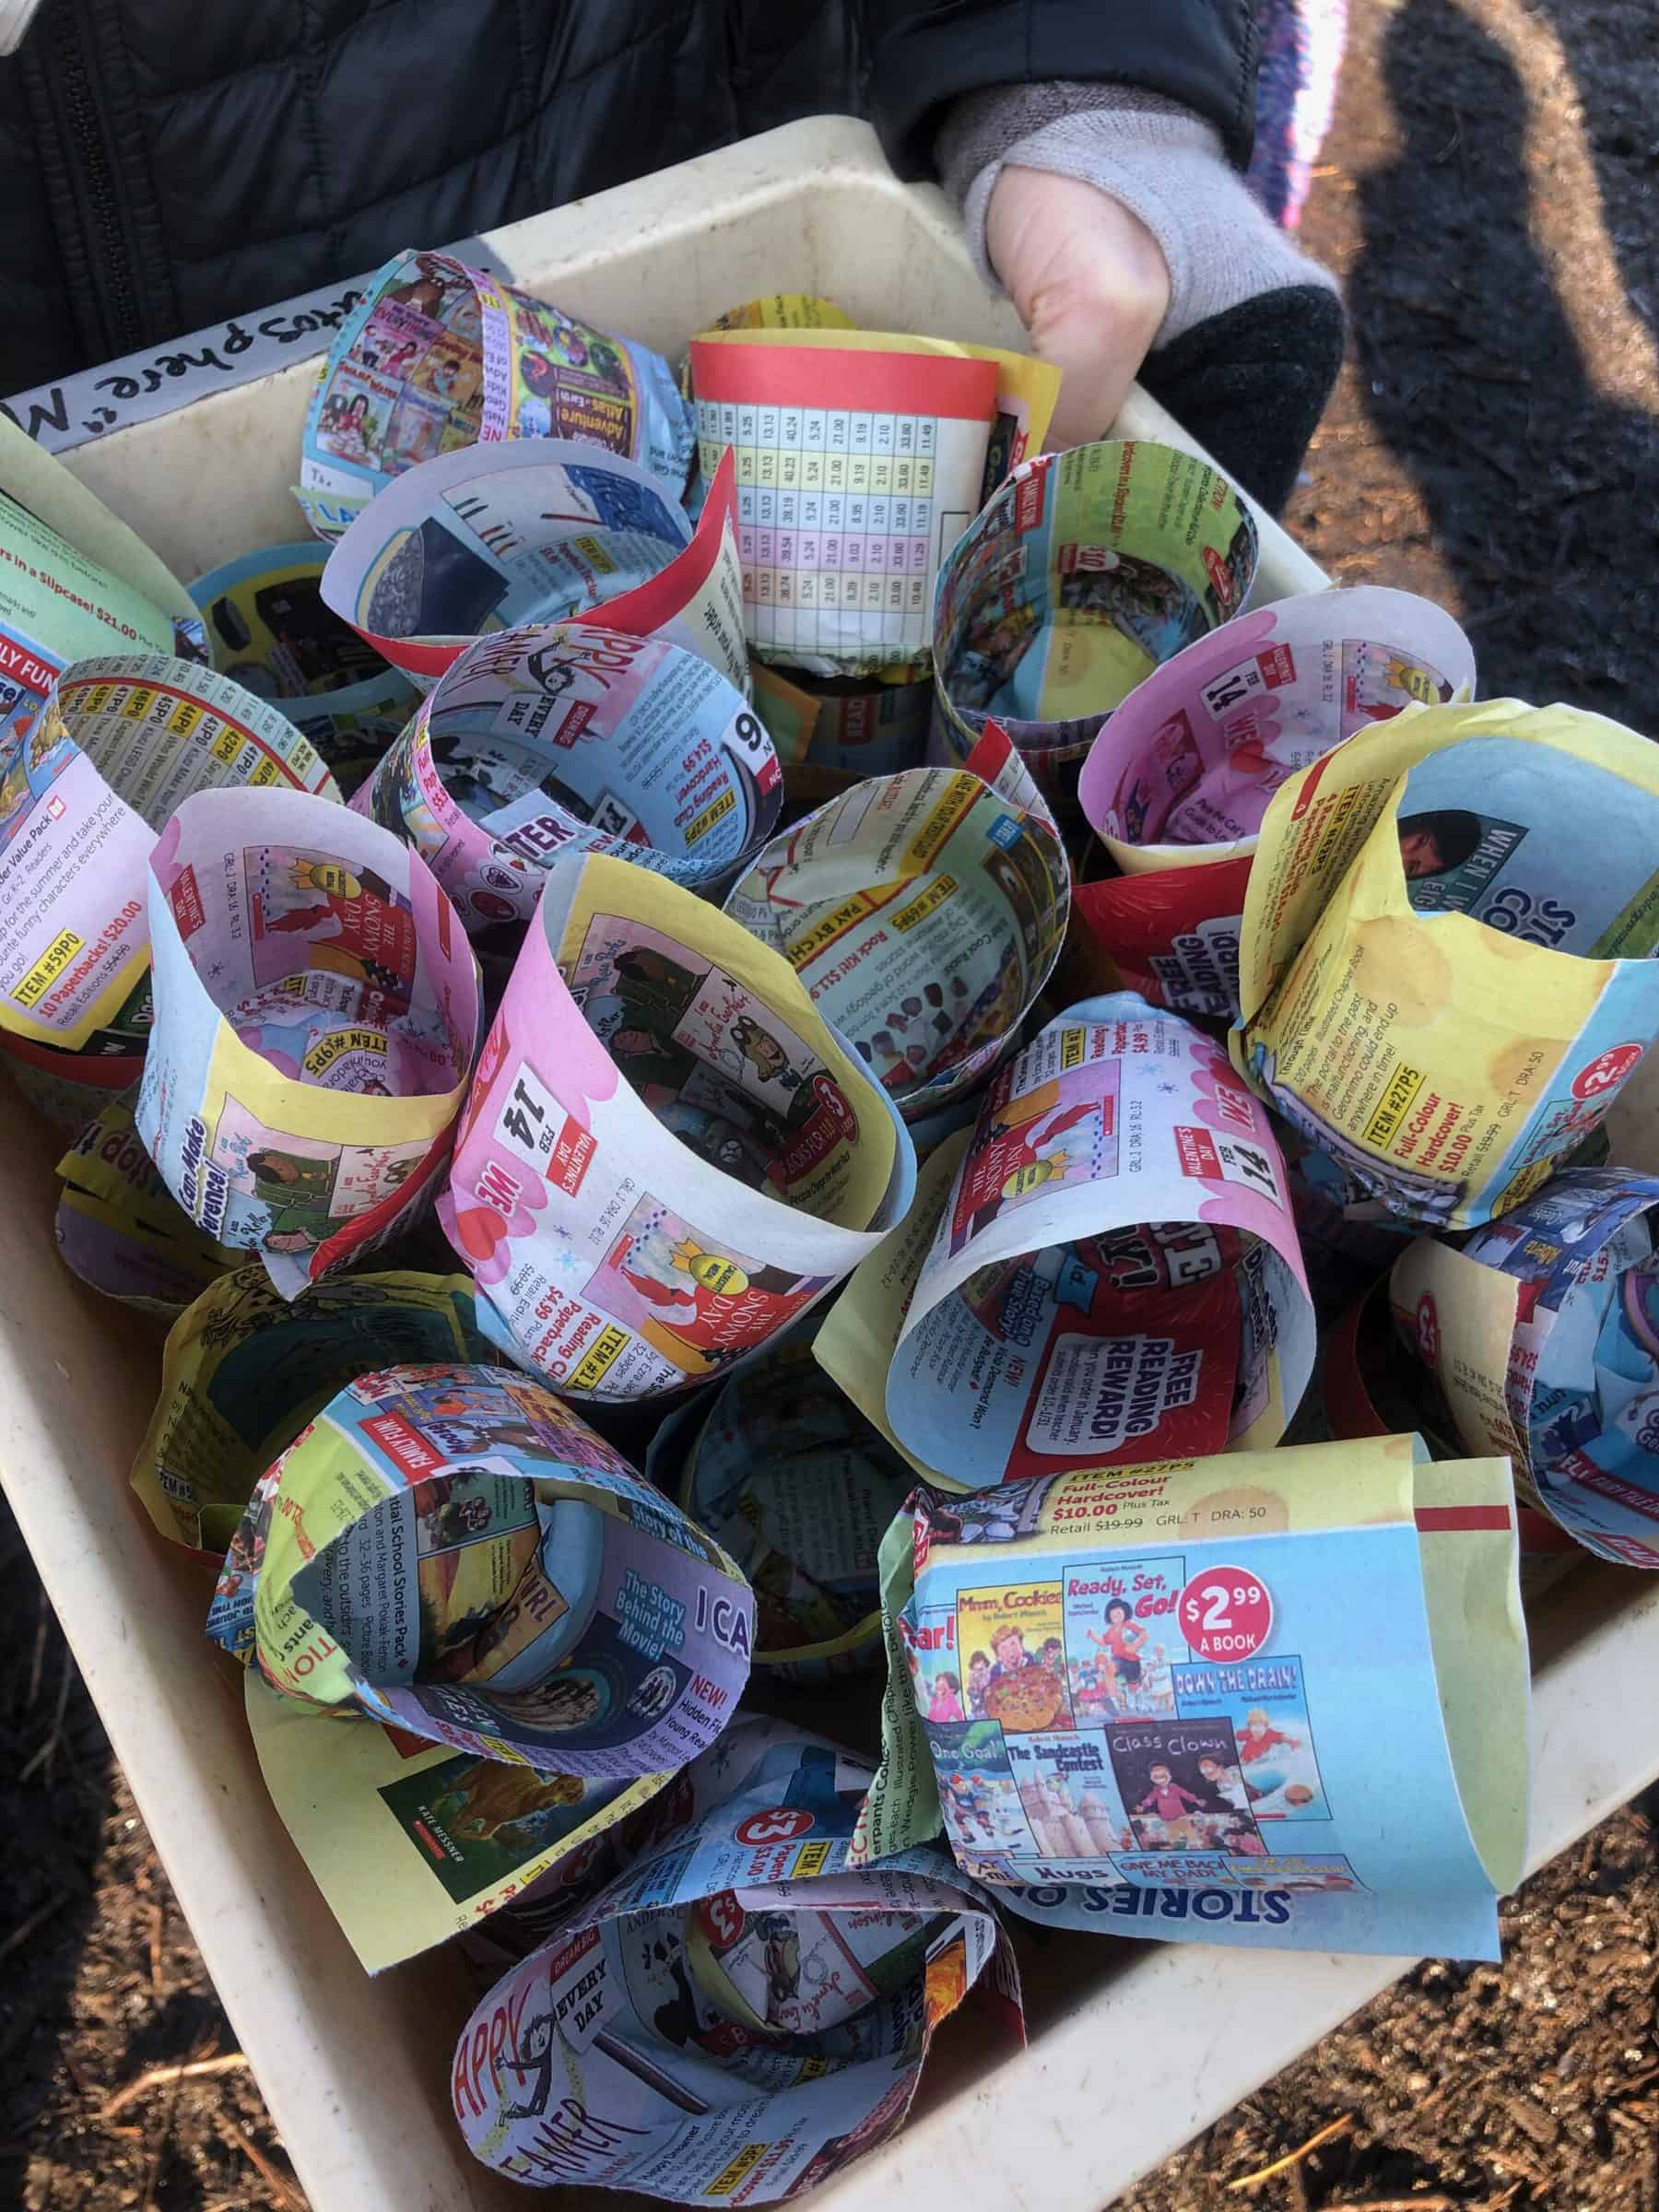
The whole point of starting seeds is that they will eventually be transplanted into your garden. And when you are transplanting with kids, it can become a tricky business to the keep fragile stems and root systems intact. What I like about these paper pots is that they hold together well enough, but decompose nicely once in the soil. These paper seed pots are practical and easy – which is a school garden win! I usually upcycle old scholastic book catalogues for our paper pots because they are made of a very thin newsprint that decomposes quickly, and we have so many of them piling up in the corners of our classrooms!
How to Make Paper Pots to Start Seeds in Your Classroom
Even your youngest students can take on this task, and we often offer paper seed pot making as a centre starting in early March for our students in the garden classroom.
We like to start rolling our paper pots before Spring break so we can get planting right away after Spring break. Some schools like to get their seeds started earlier, but be sure you have a plan for watering the seeds over spring break or you’ll have a lot of disappointed kids (and dead seedlings) when you return to school!
Step-by-Step Instructions:
- Prepare strips of paper about 10 cm wide and about 25- 30 cm long (these are estimates, and they do not need to be exact)
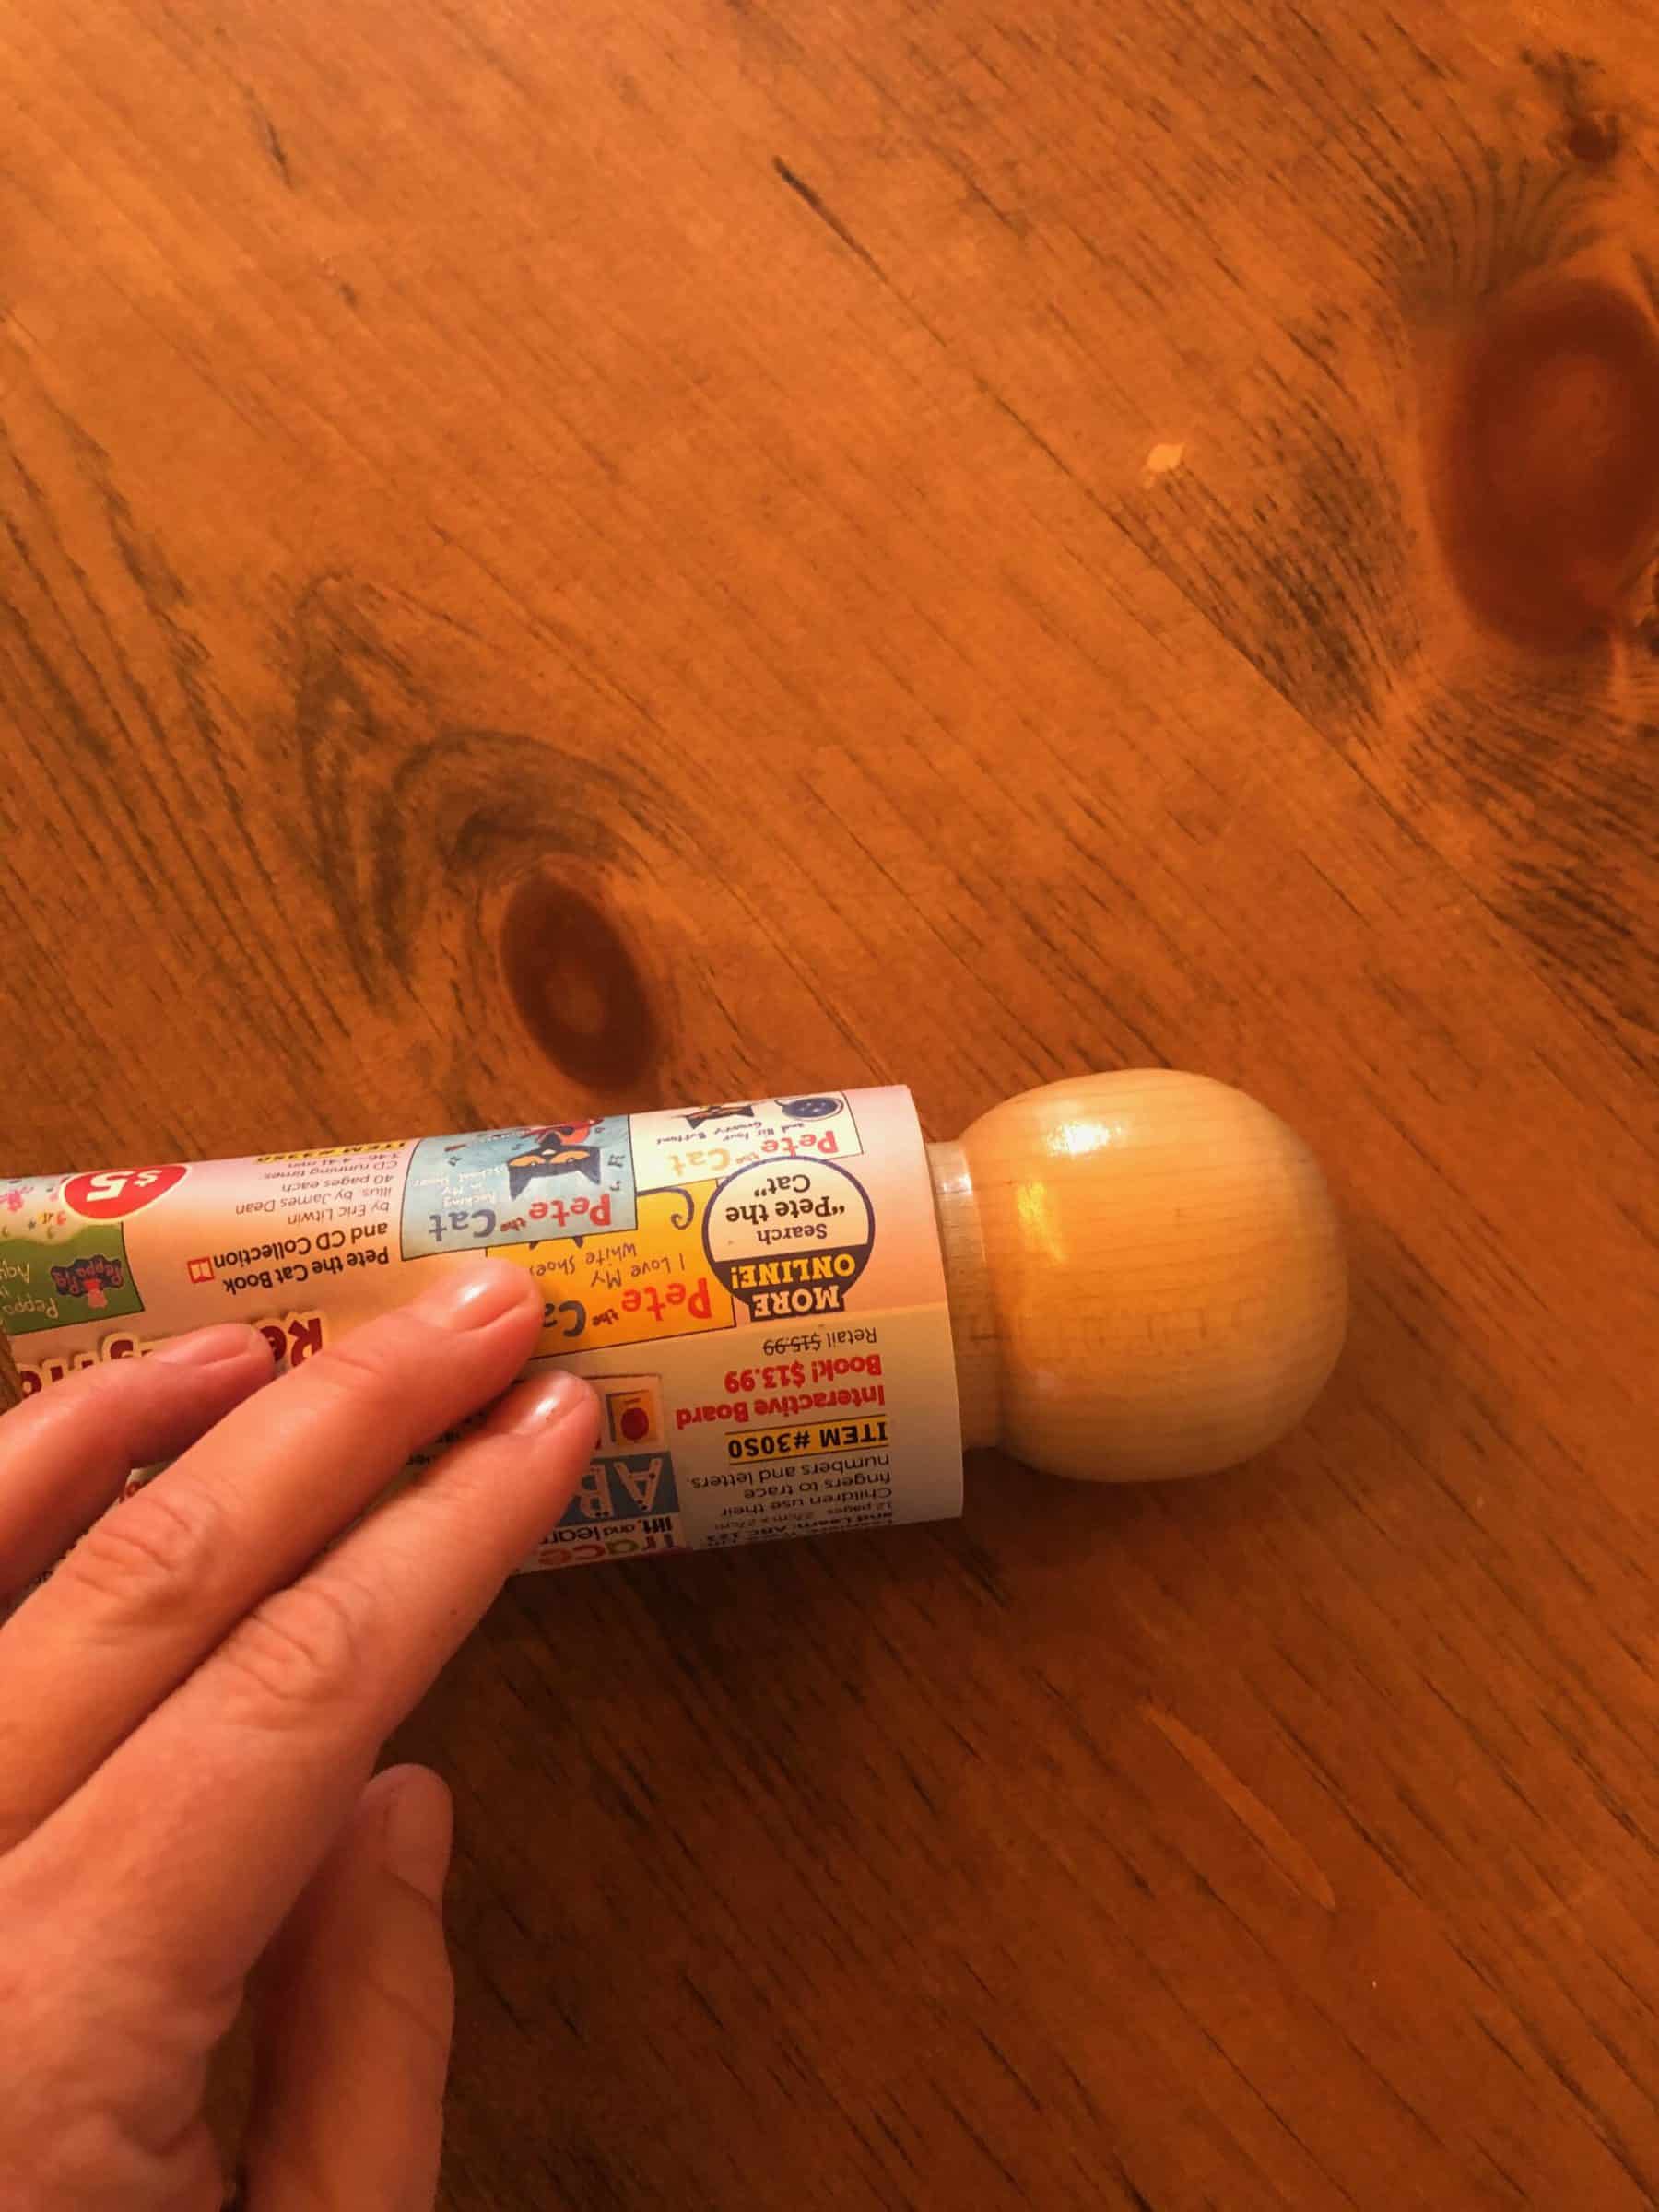
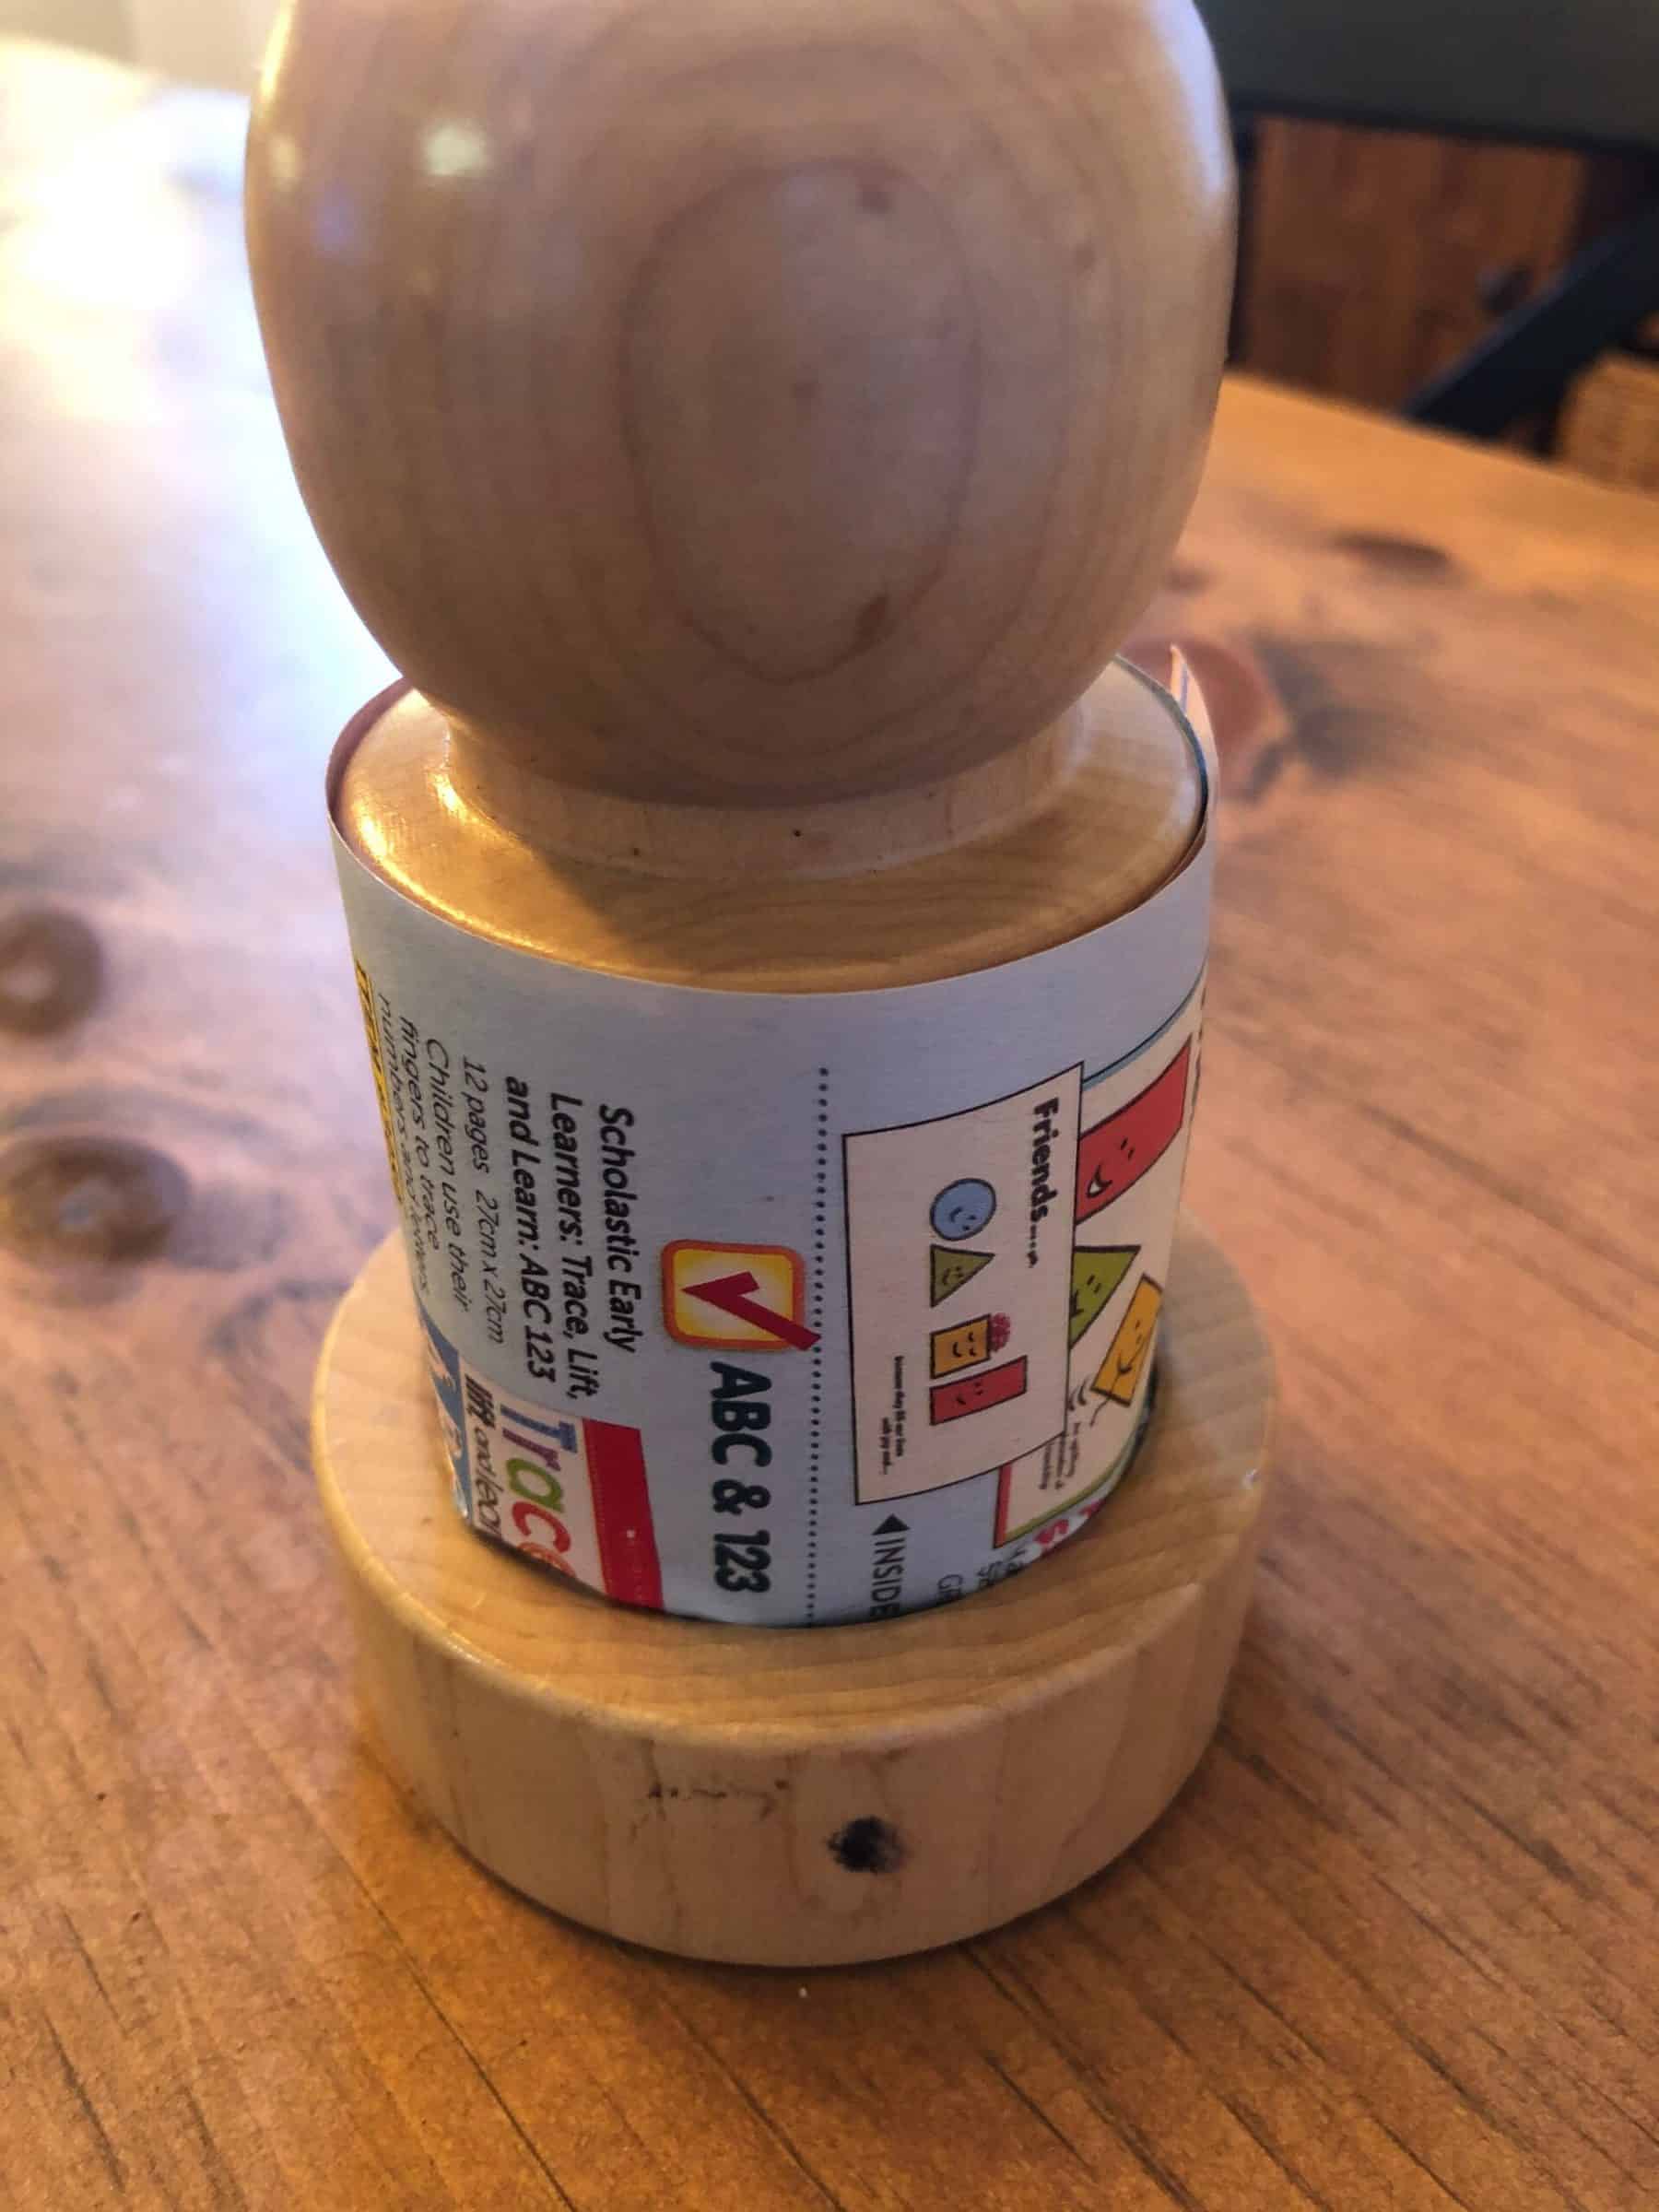
- Line up the edge of the paper strip with the “neck” of the pot roller
- Roll the paper pot up inside the strip of newsprint, keeping the edges as aligned as possible
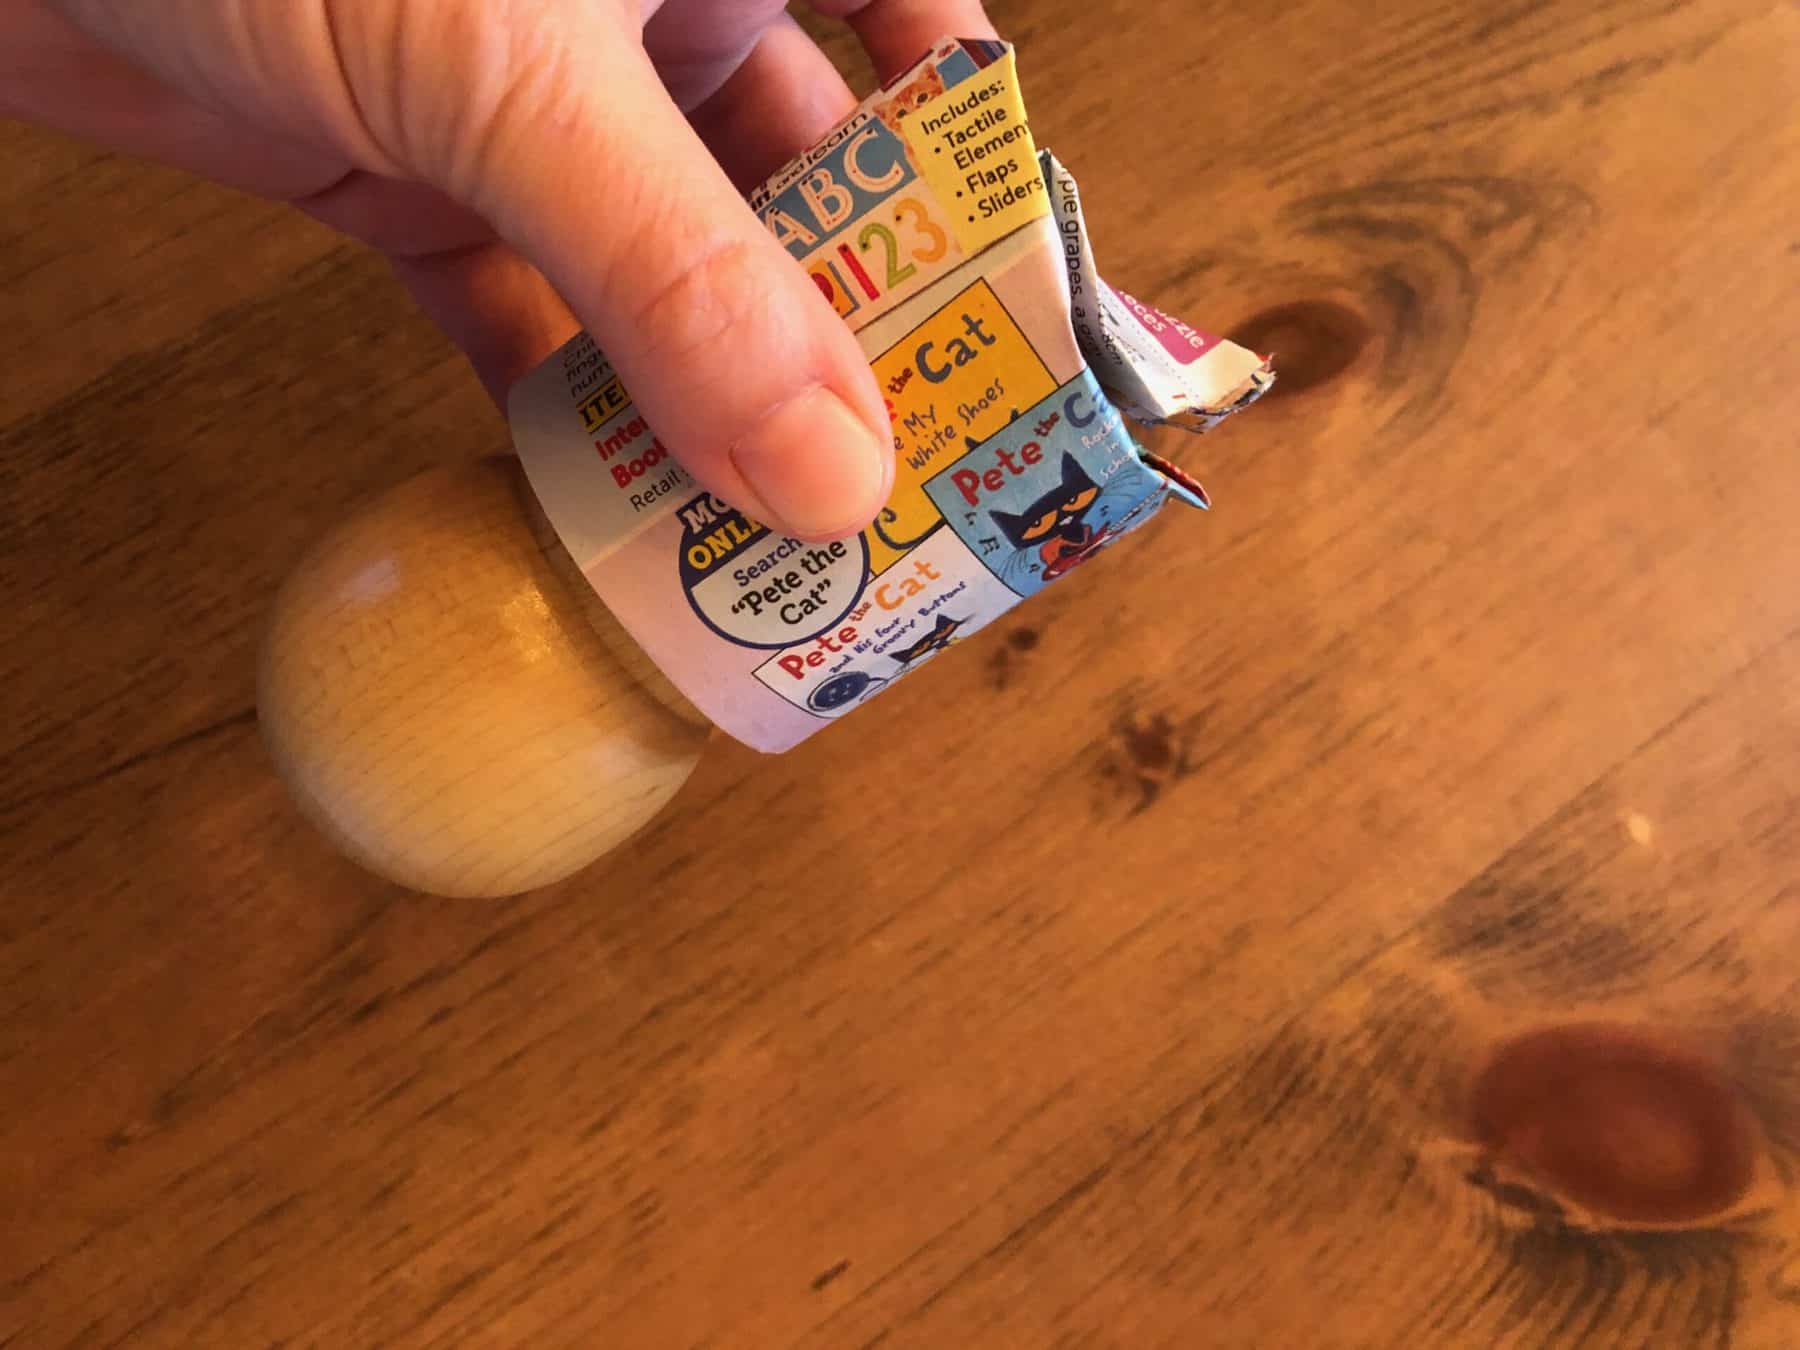
- Tuck the ends of the paper, or simply crush them to close the end at the “foot’ of the pot roller
- Use the stamping end of the pot roller to tighten the ends of the pot, and voila! You have a paper pot!
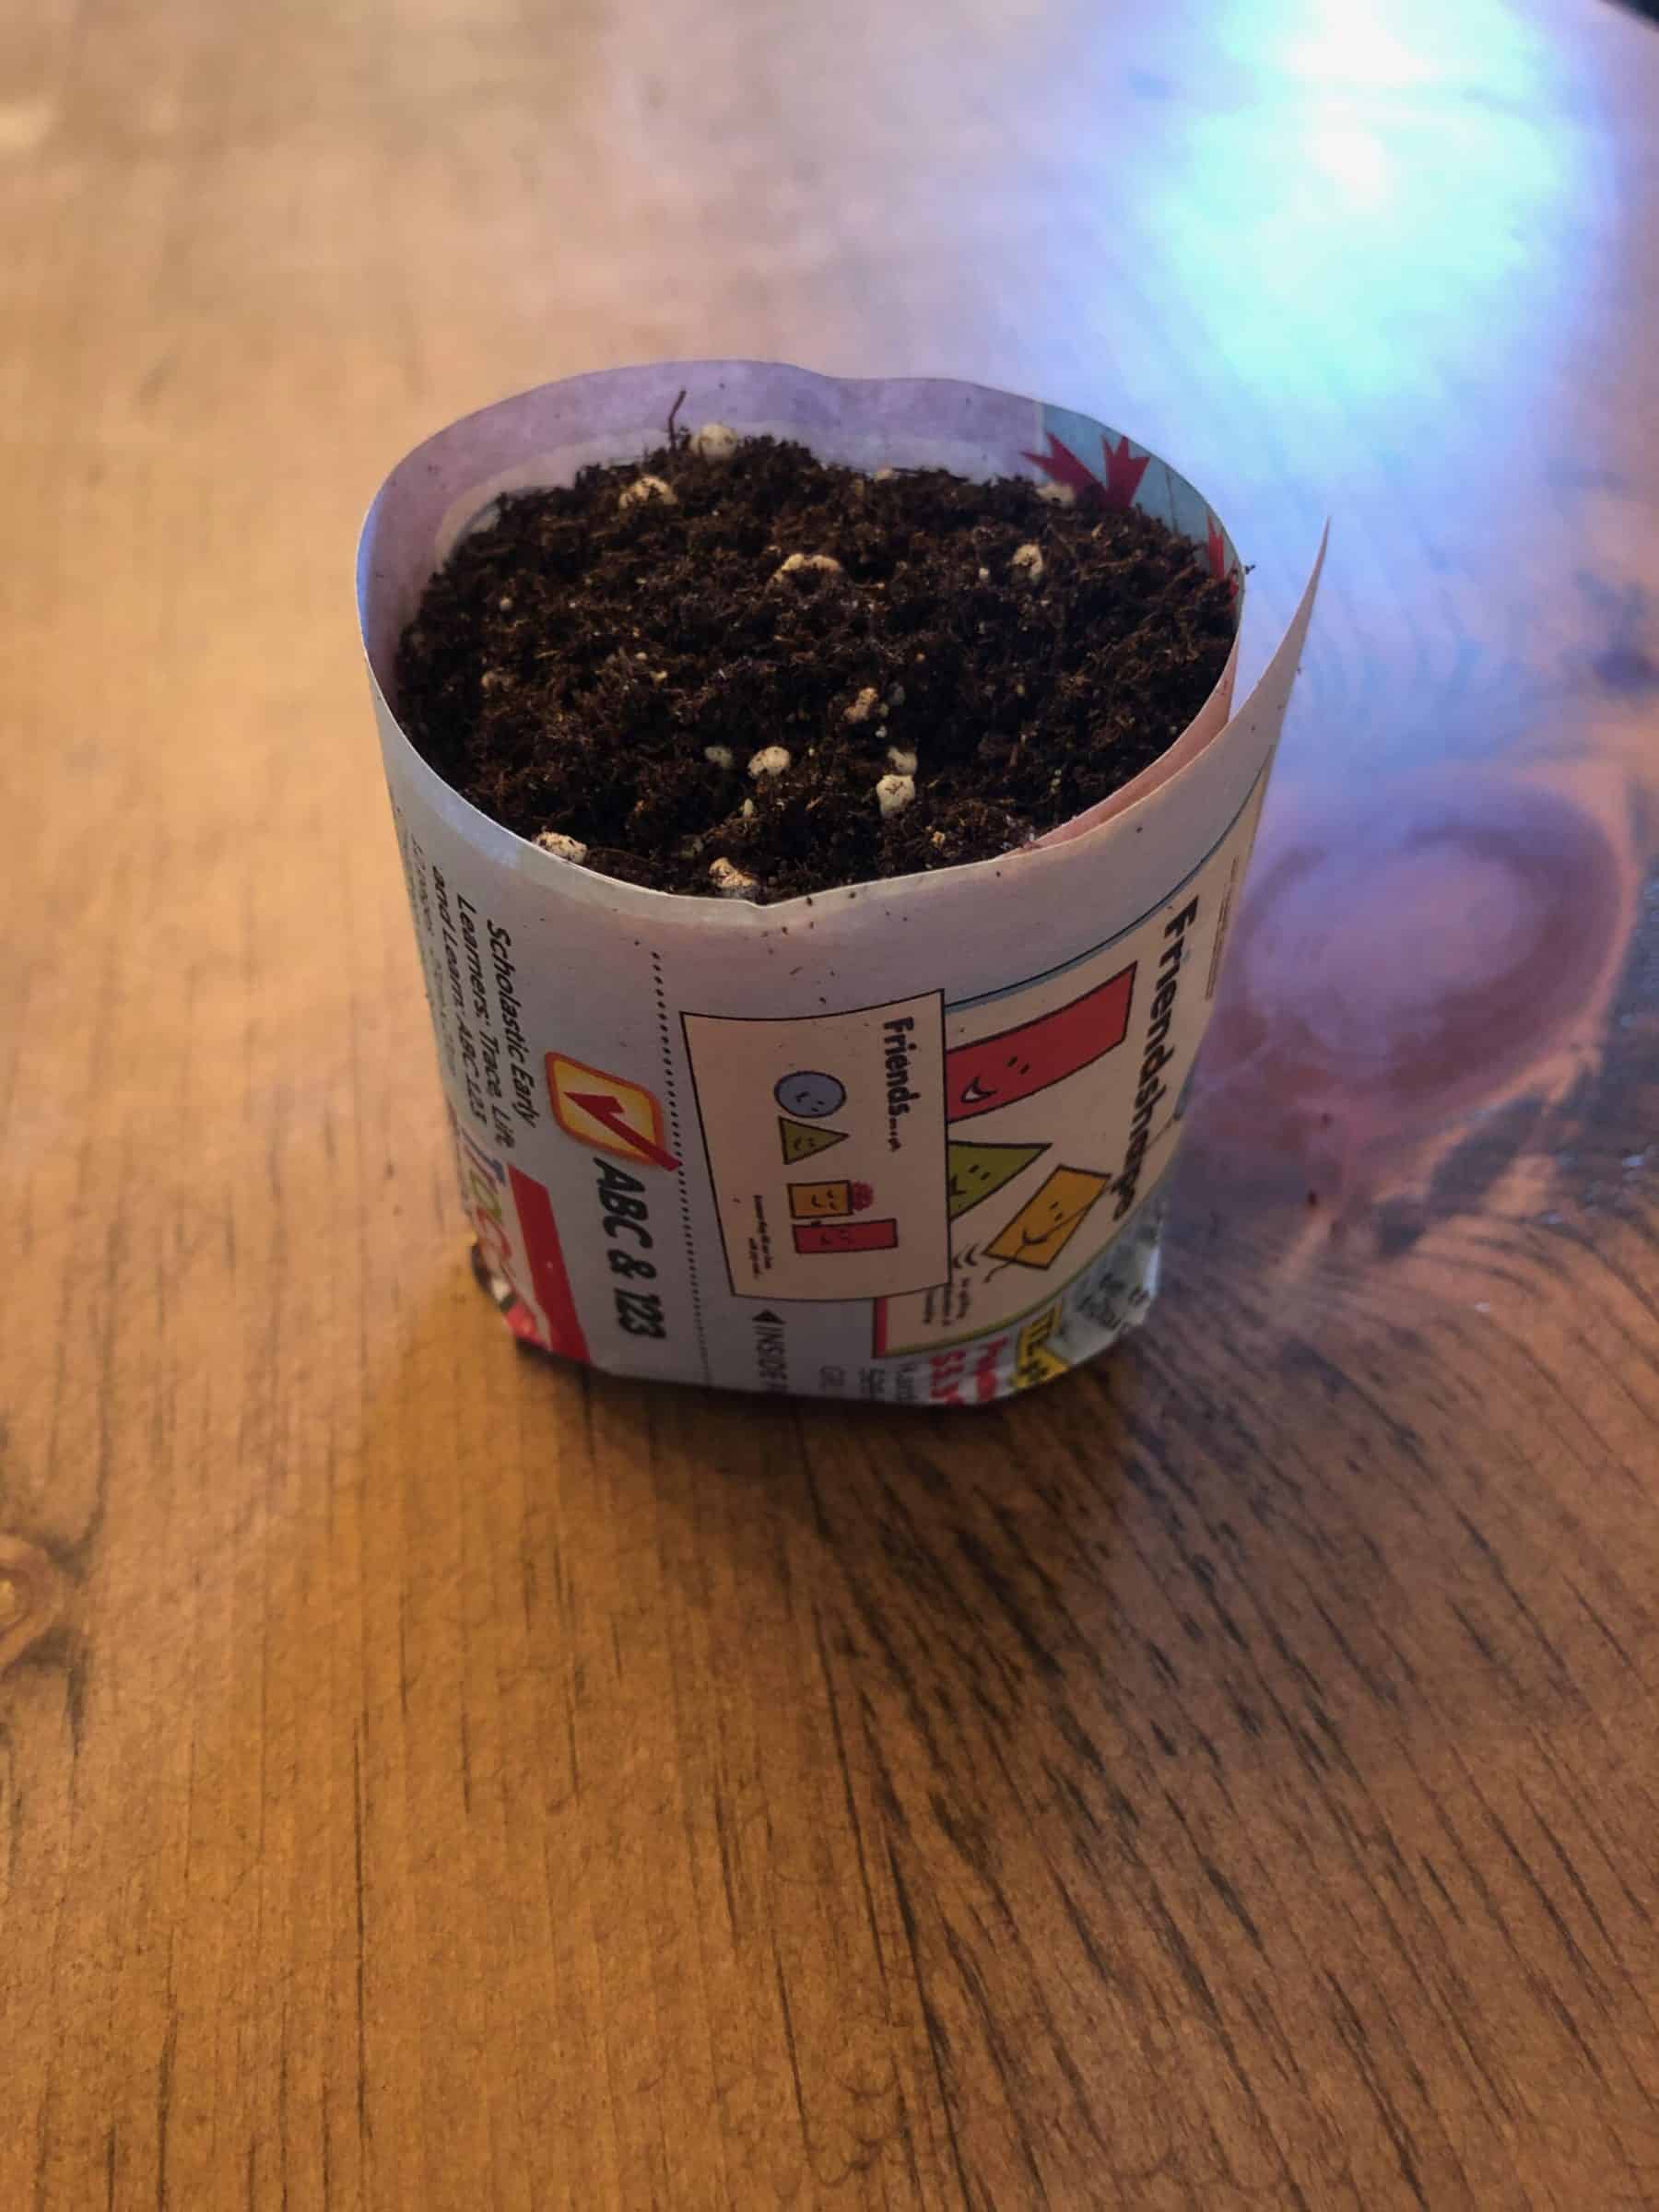
When you are ready to plant your seeds, fill the paper pot with starter soil. You can purchase starter soil here. It is lighter and better suited for seed germination, so your results might improve!
Water From the Bottom Up
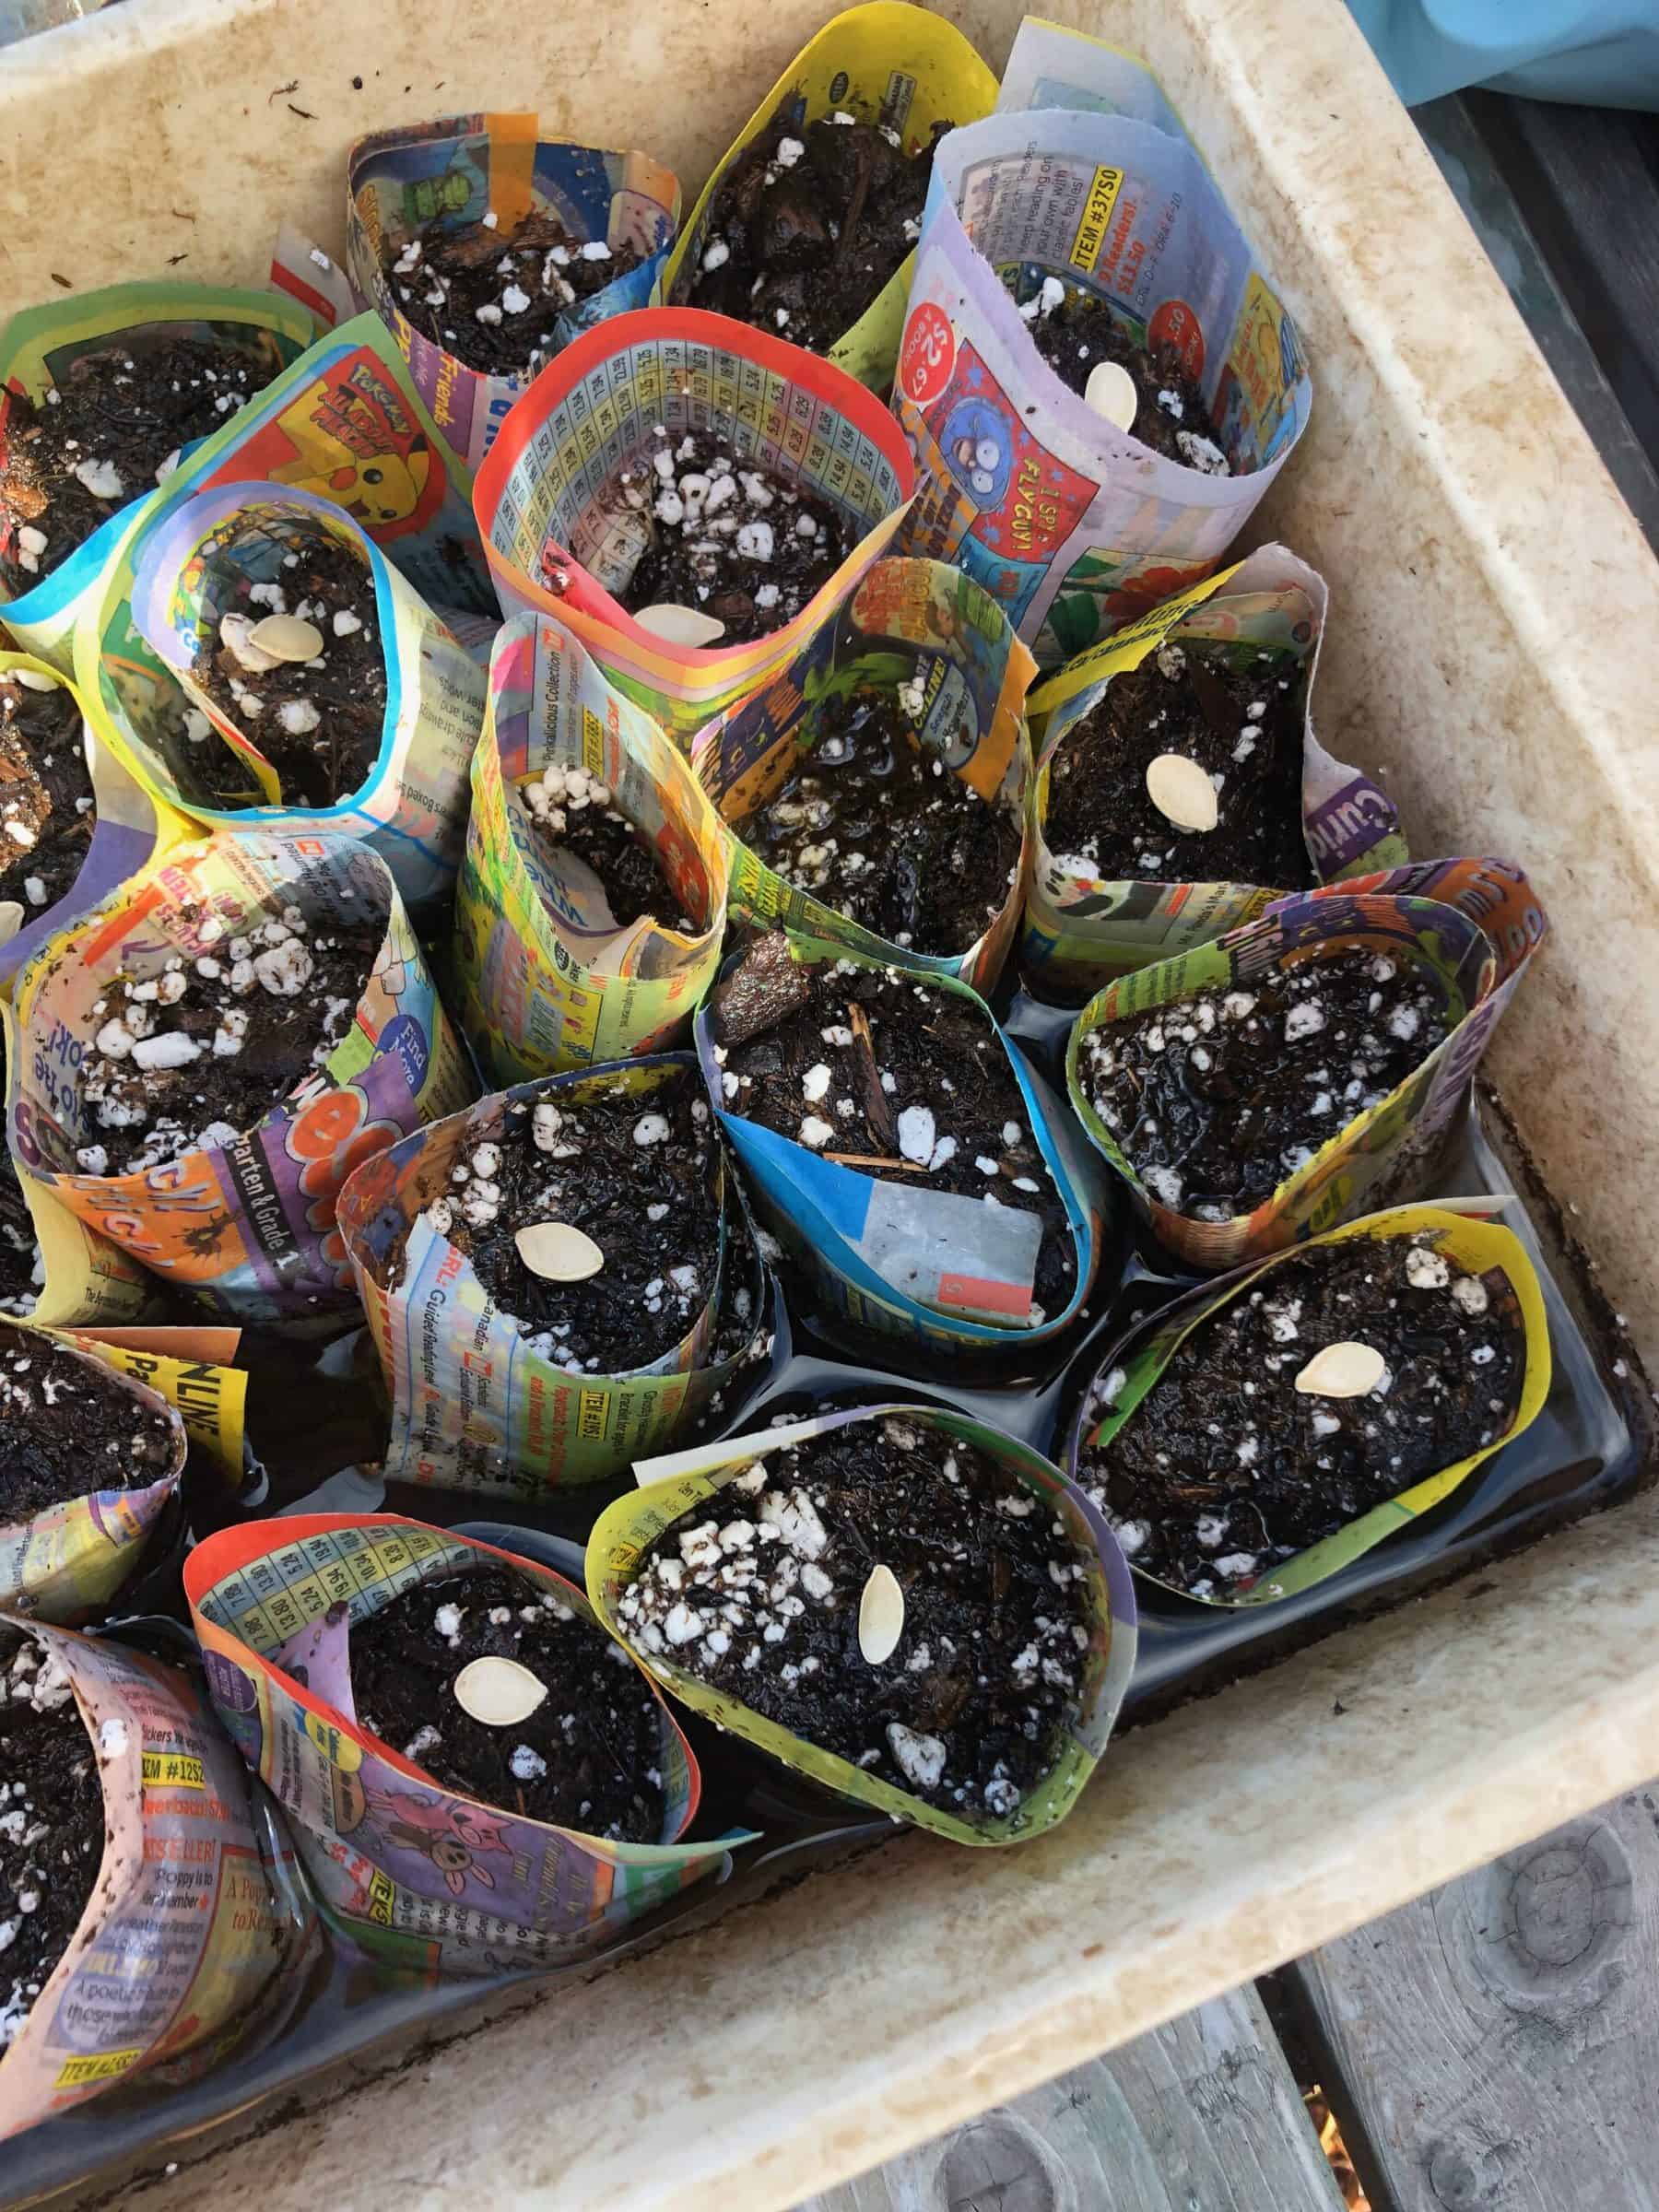
I like to keep seeds in totes that hold water so they can be watered from the bottom up. This keeps seeds from being washed away to the bottom of the paper pot by over-zealous waterers!
Be sure to label which seeds are which, and keep them moist. Place your trays in indirect sunlight with a constant temperature and wait patiently for them to germinate!
When having many little hands planting seeds in paper pots, I like to have the seeds, (we used pumpkin seeds this time) placed on top so we can visually confirm that each pot received a seed before we push them to the recommended depth with our fingers!
And that, my friends, is how you make a paper seed pot. Keep them moist and enjoy watching your seedlings grow!
Want to learn more? You might enjoy these posts on gardening with kids:
RELATED POST: WHAT SEEDS NEED TO GROW, A SEED INQUIRY
RELATED POST: HOW TO GROW PUMPKINS WITH KIDS
RELATED POST: HOW SEEDS TRAVEL
Want to know more about gardening with kids? Join me on Pinterest for more ideas from around the web: