

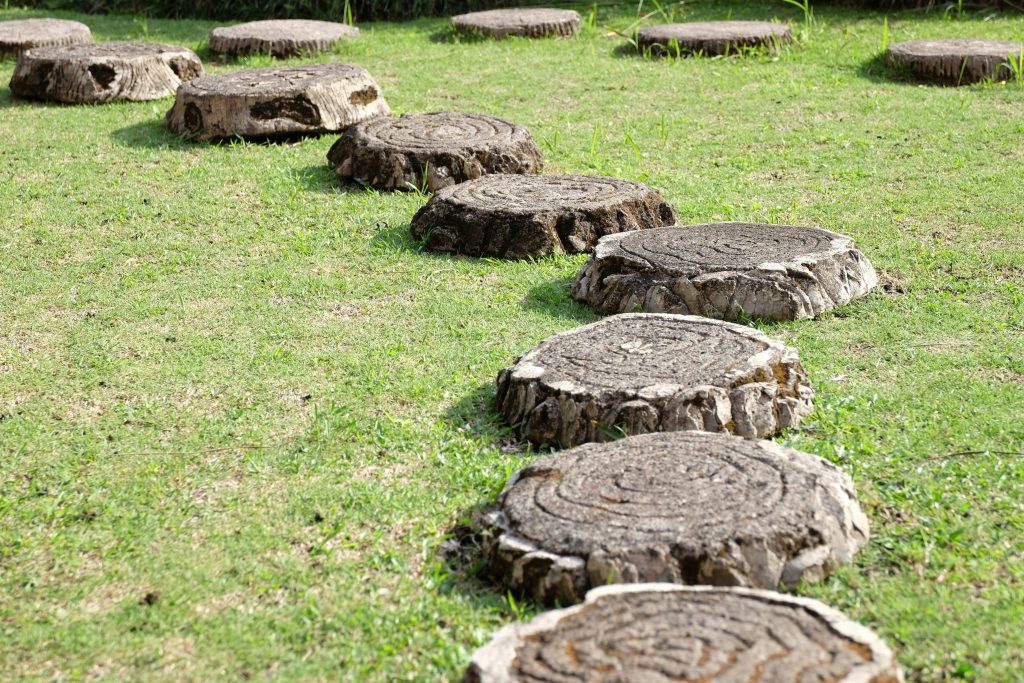
Garden stepping stones are an affordable and easy class project that combine artistic autonomy with the scientific principles of viscosity and states of matter. They make fantastic mother and father’s day gifts, and add a personalized touch to any garden for years to come. Teachers looking for ways to reduce consumption of paper products may also enjoy the easy clean up of this sustainable arts and craft project that can be completed entirely outdoors!
Garden Stepping Stone Supplies
- a drop cloth or tarp
- deep containers or molds to pour the concrete in (these can be made from aluminum, plastic or wood)
- cooking spray or Vaseline
- one 25kg bag of quick set concrete
- a large-ish bucket or bowl (like an ice cream bucket) to mix the concrete in that you have no further use for (it will be coated in concrete after)
- something to mix the concrete with that can be disposed of after (paint mixing stick, an old spatula, branch)
- a design surface for the loose parts (paper plates, cardboard squares)
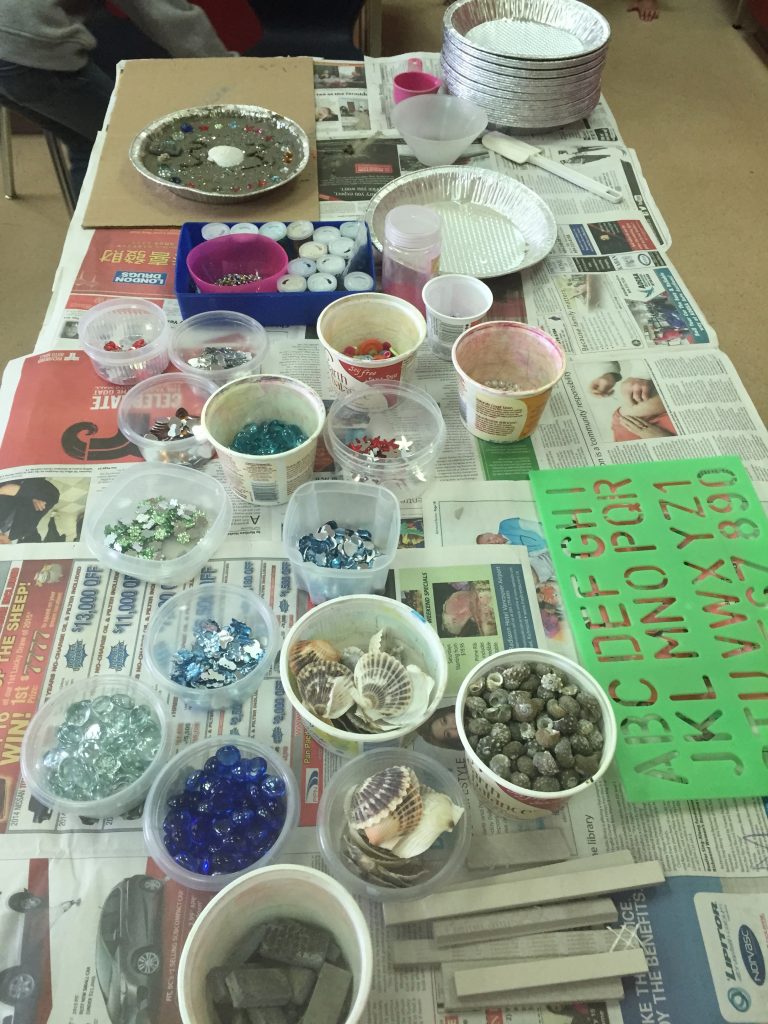
- loose parts to decorate and embellish the stones (dollar store jewels, old costume jewelry, beads, sea glass or other broken bits of pottery and tiles, stones, shells, garden debris like leaves and pine cones, leftover crafting materials like ribbons and glitter etc)
- Letter stamps (if you want to write MOM etc)
- Modge Podge Clear Acrylic Sealer (get the dishwasher safe one!)
Preparation of Stepping Stones – Loose Parts
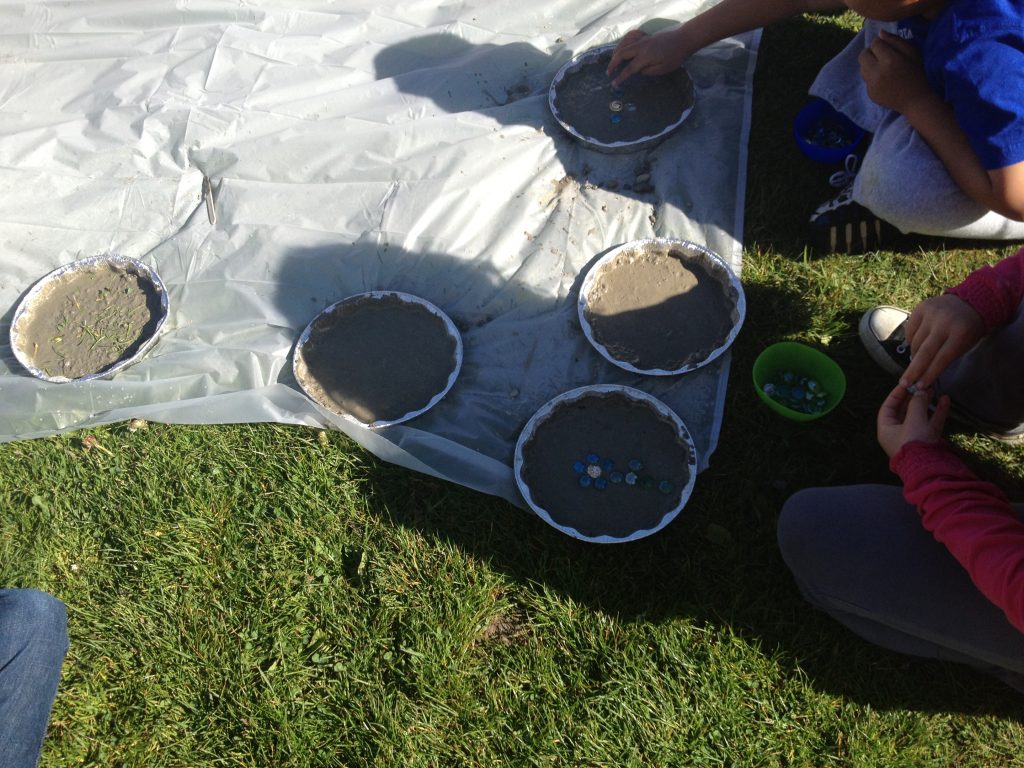
Start by choosing a work space, preferably outdoors, that can accommodate the number of children you are working with. I like to use a large drop cloth to define the work space and to keep the concrete dust and debris somewhat contained so kids don’t step in it and spread it elsewhere.
How to Make Garden Stepping Stones
Step 1
Have each child choose a stepping stone container to work with. Aluminum trays are the least expensive, are disposable, and the easiest to work with. Plastic trays have the most options for shapes, like a cake pan. Wood cookies are the most sustainable option because they remain in the garden as the structure for the stepping stone, but require tools (like a chisel) to remove some inner wood from the bark exterior to make space for the cement and decor. Lay out loose parts, buffet style, and have the children collect the bits and pieces in their shaped container. I frequently use tin pie molds from the dollar store however you can order any number of shapes and designs for your stepping stones, like this butterfly mold from amazon or you could use plant saucers like these.
Step 2
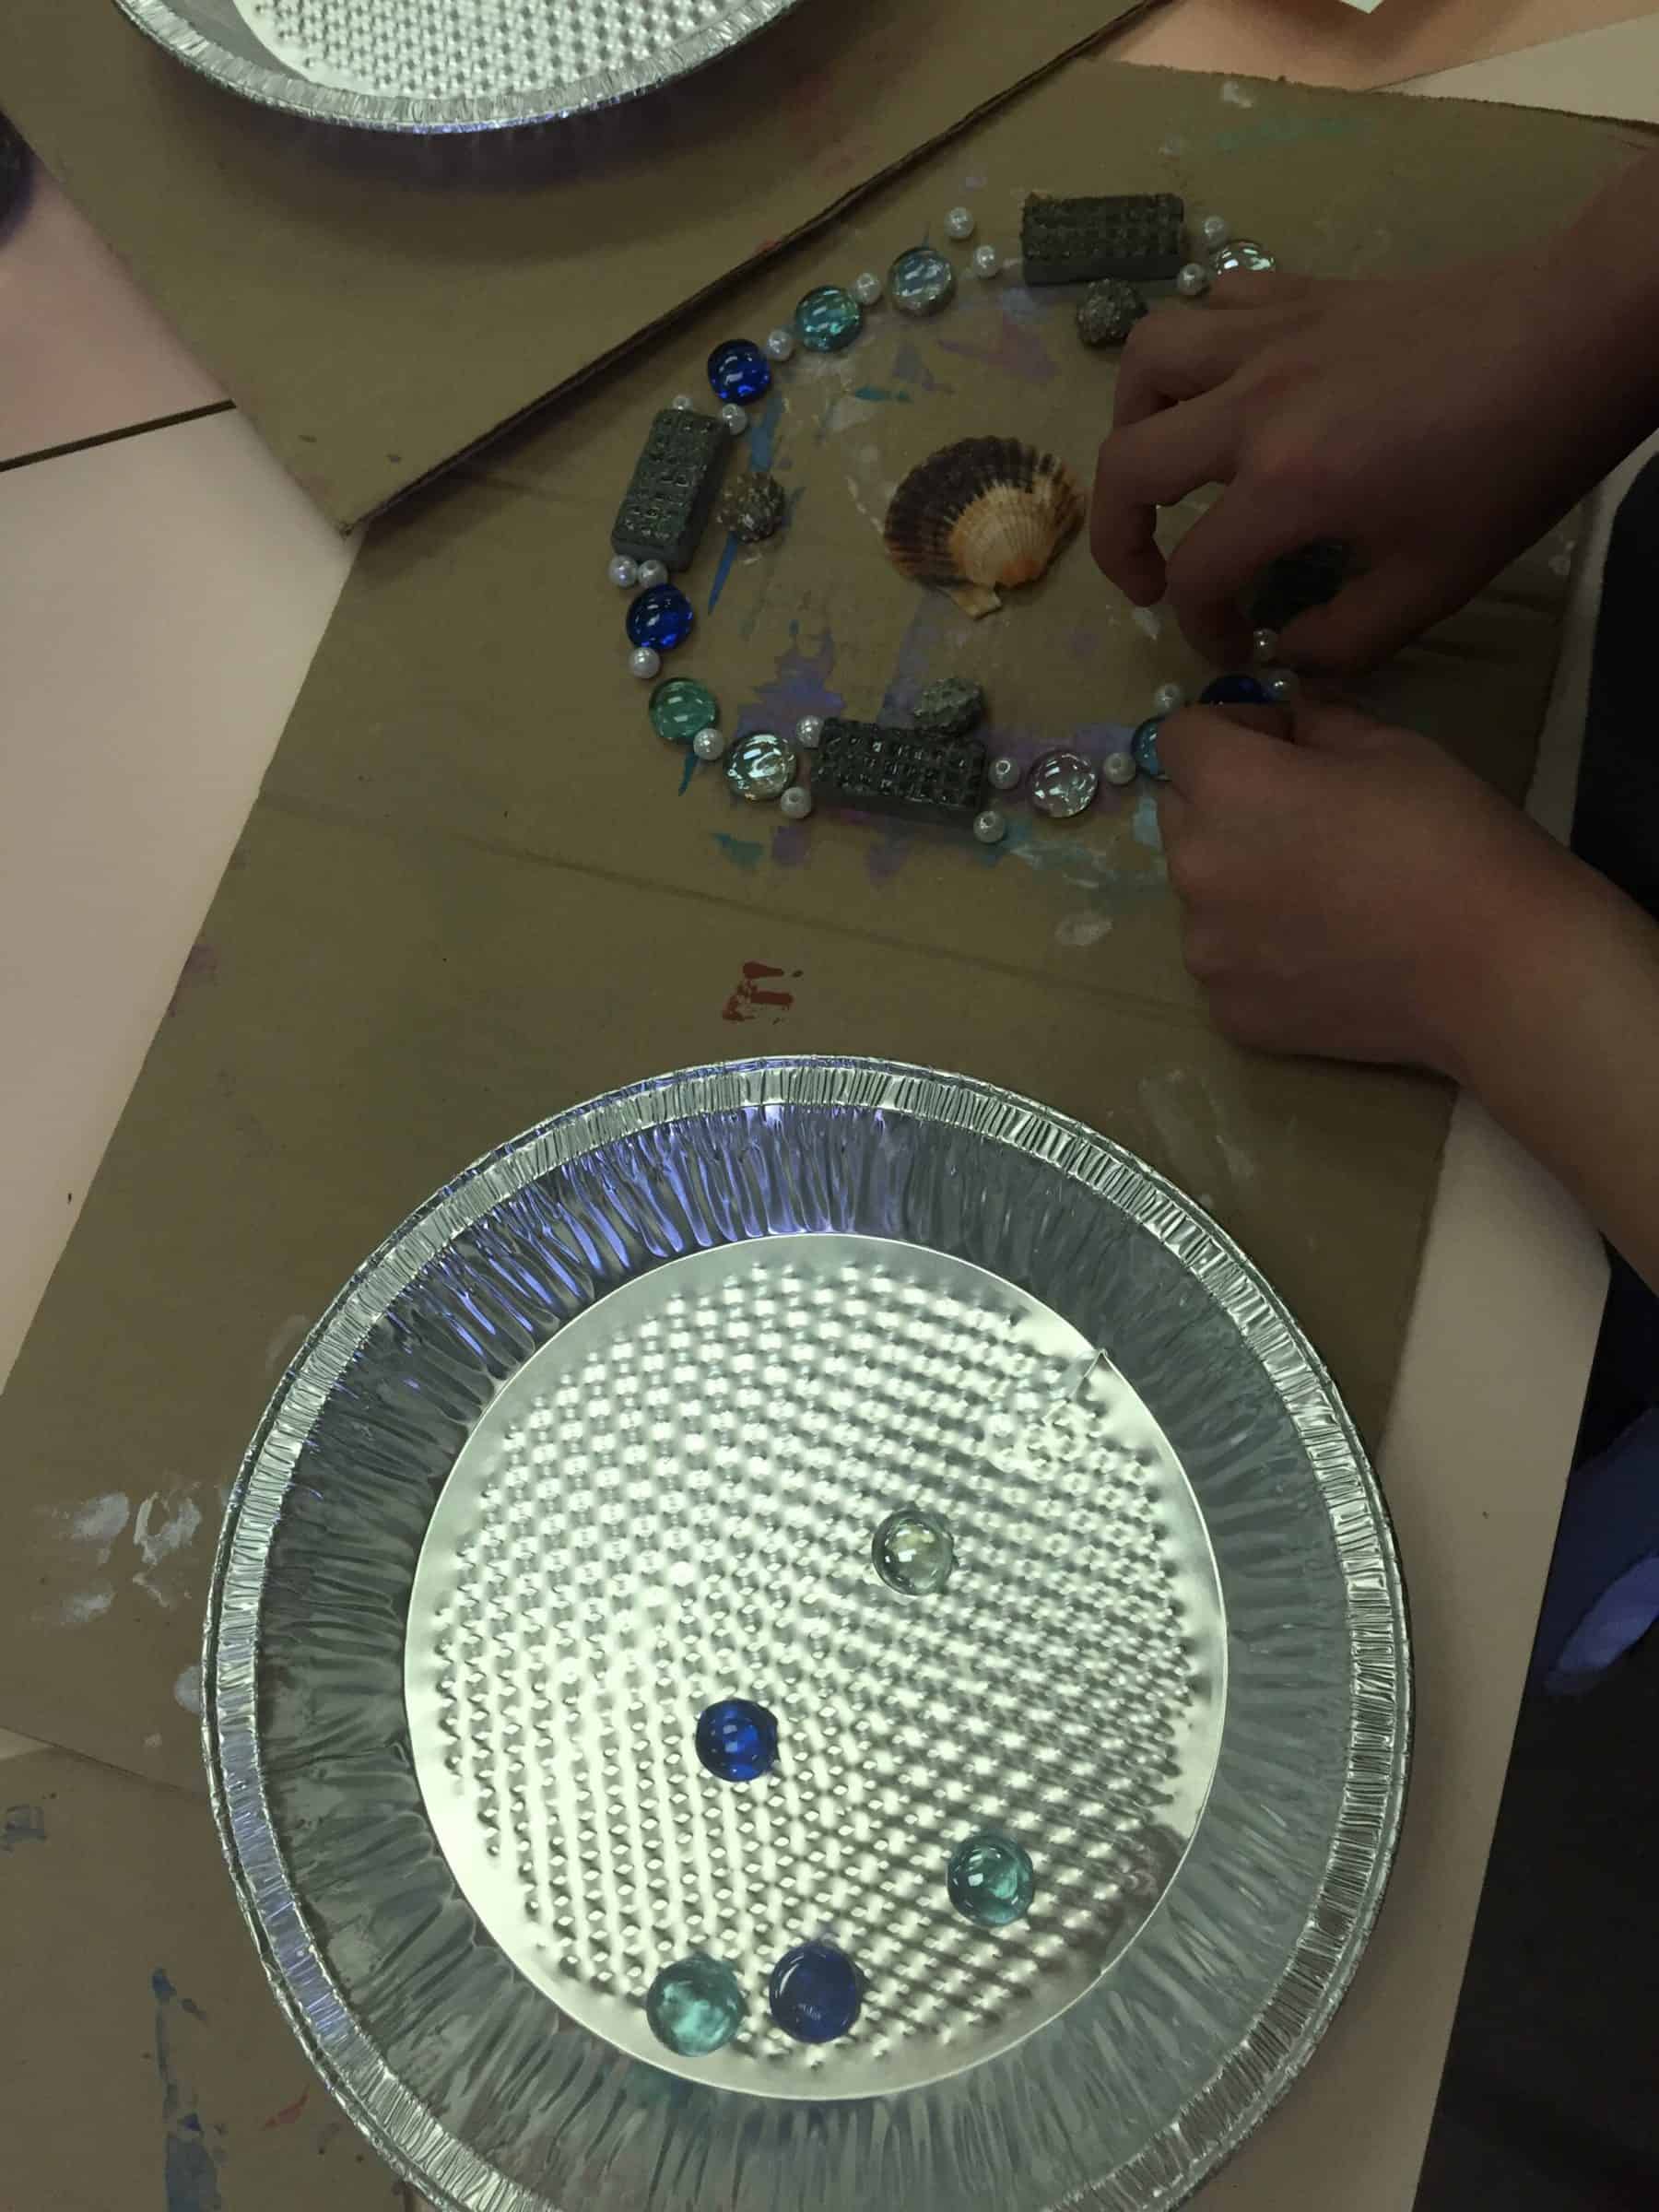
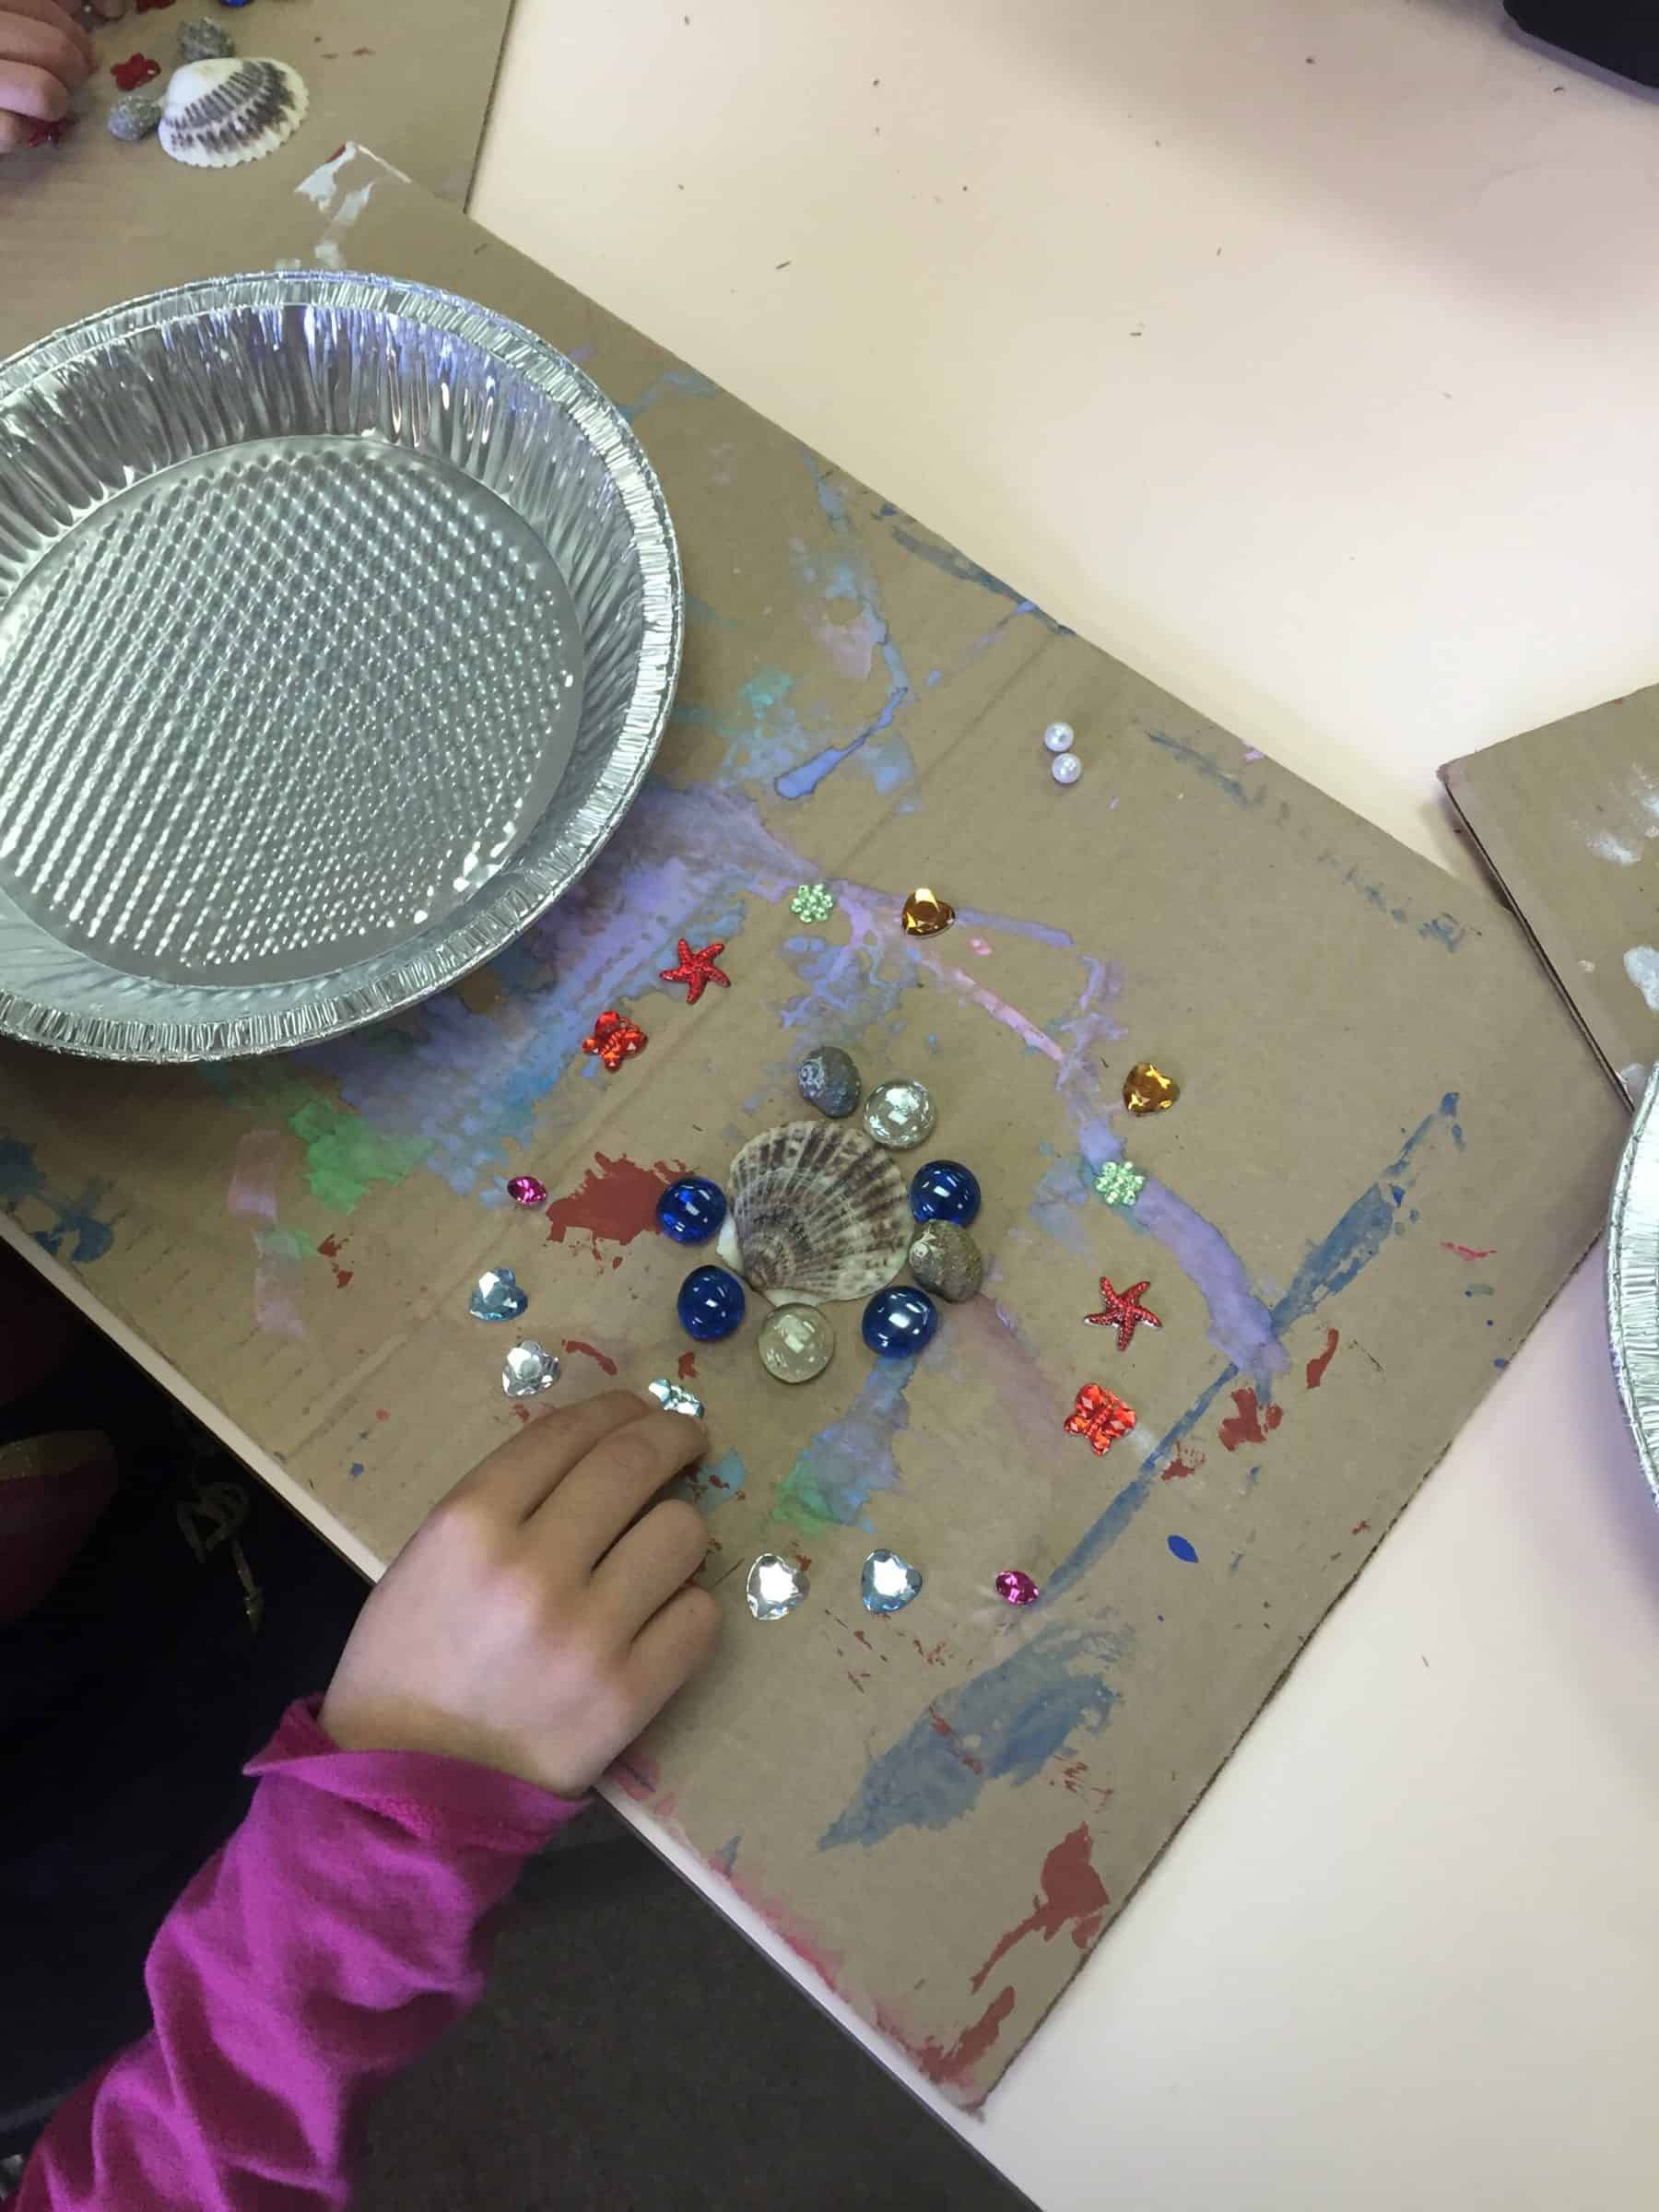
Have the children work with patterns and designs within the mold until they are satisfied with how the finished stepping stone will look.
Once the designs are planned, they can transfer the loose parts onto the cardboard surface beside them, ready for the next step. Keep in mind that once the concrete is mixed it begins to dry fast, so they’ll need to have it ready to place in the mold before you mix the concrete.
Step 3
Spray the mold with cooking spray or apply Vaseline to make the finished stepping stone removal easier. Do this before you mix the concrete as it takes longer than you might imagine to get a class set ready for pouring concrete!
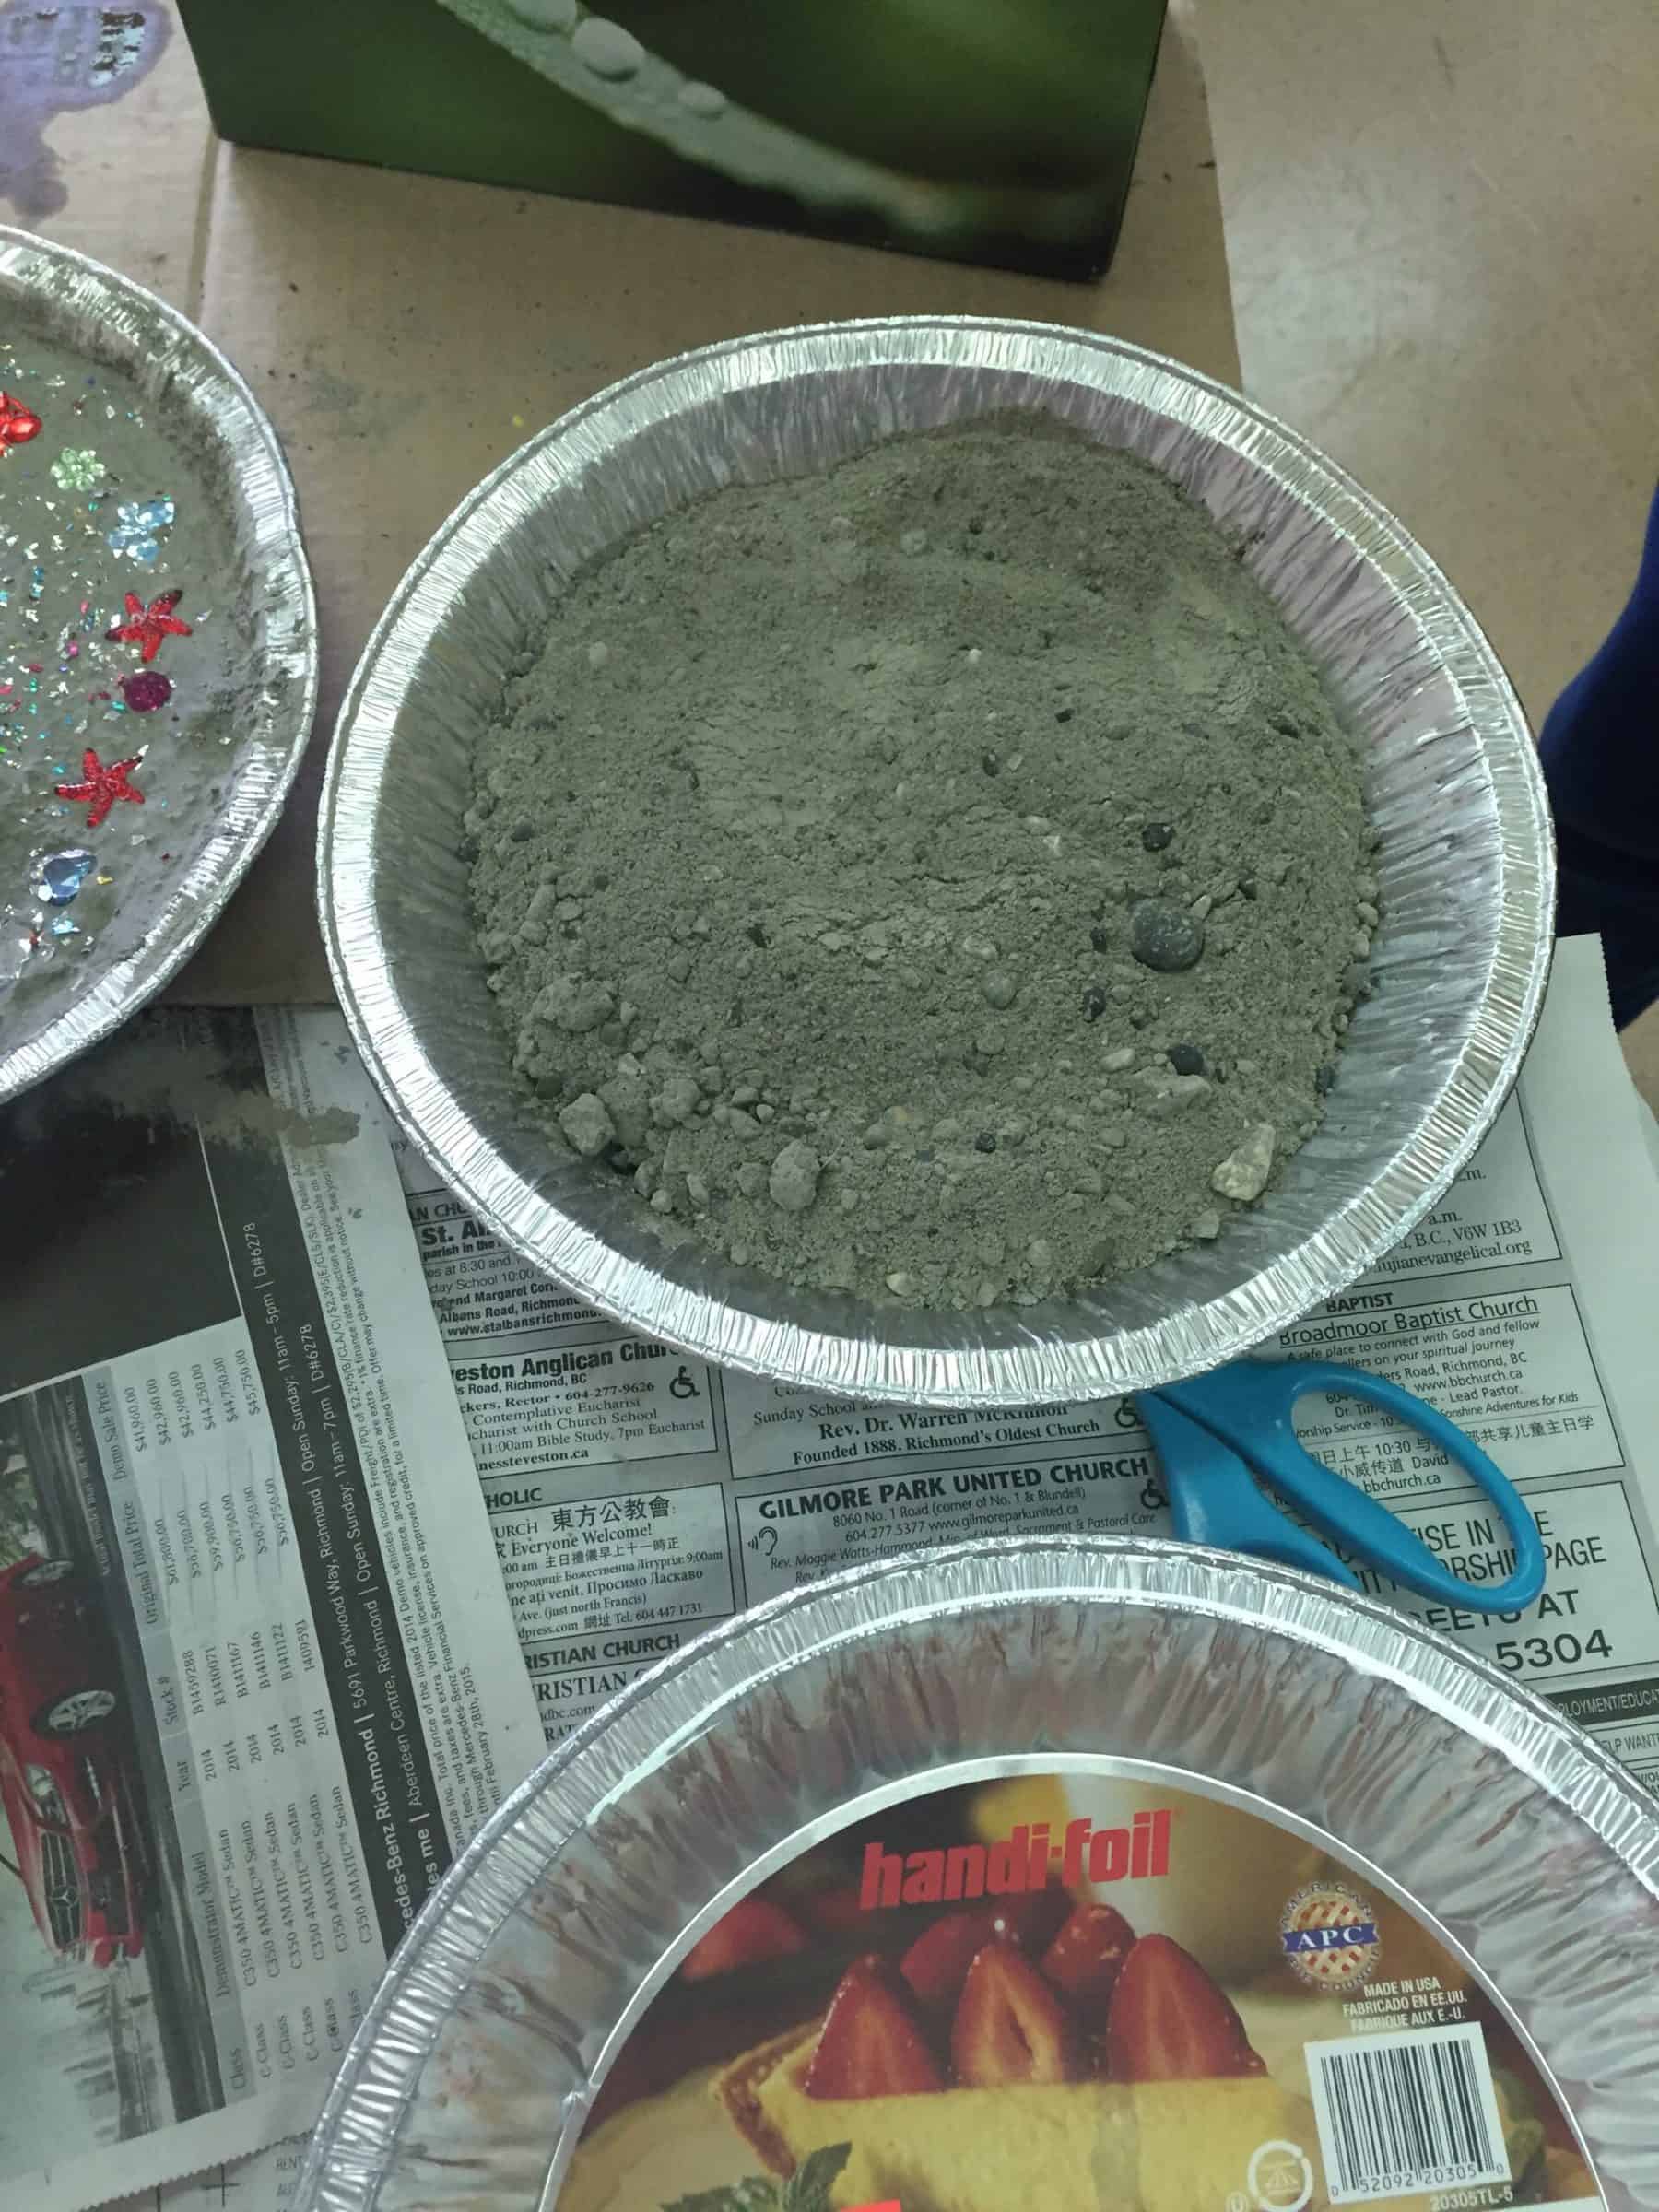
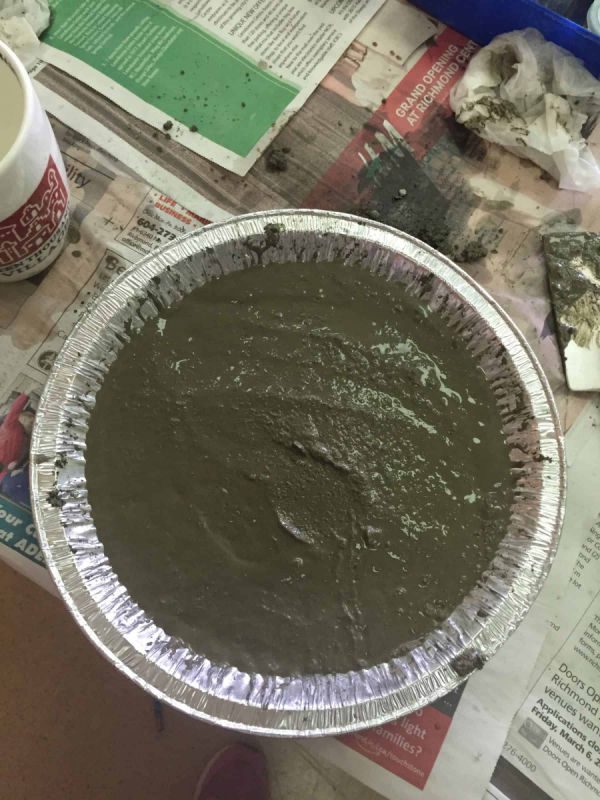
Now, mix up your concrete and evenly distribute the concrete to the molds. Be sure each mold is reasonably thick as thin set concrete does not stand up well when children move it around or step on it in a garden.
Working With Large Groups of Kids
When working with large groups of children I sometimes portion out and mix the concrete directly in the mold while they are working on their garden stepping stone designs. Then, I come around one by one to add the water when they are ready to add the decor.
If you go this route, wooden take-out chopsticks are handy for each child to individually mix their own concrete. Just be sure to do a final mix for each child so they don’t have pockets of unmixed concrete in their mold.
Step 4
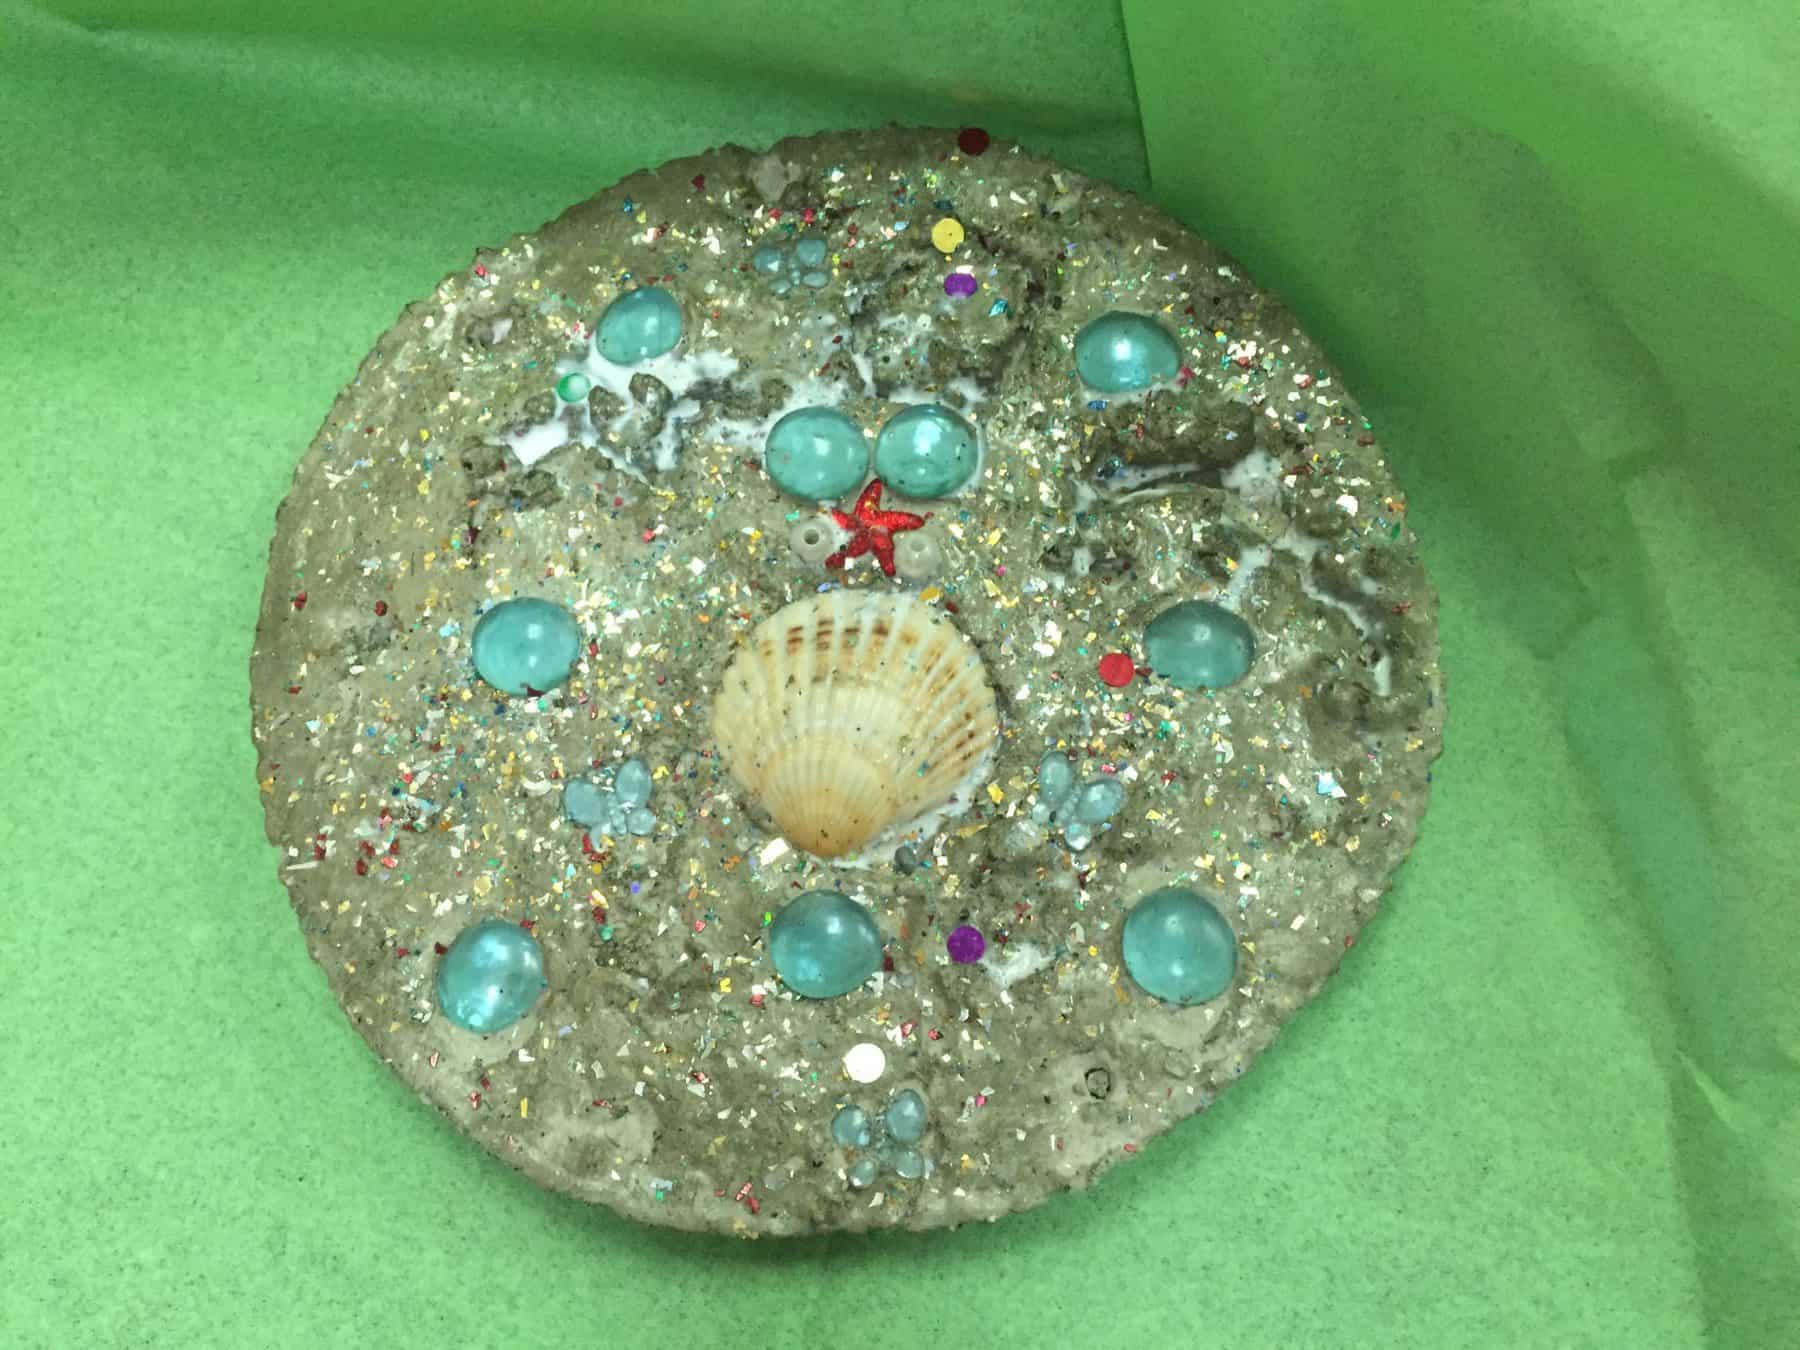
Once the concrete is in the mold, have children transfer their garden stone decor to the wet concrete.
Remind them to work quickly. If you want to use stamps, now is the time to get stamping!
Step 5
Find an indoor location to store the newly create stepping stones for several days or over the weekend. This will allow enough time for them to thoroughly harden before removing from the molds.
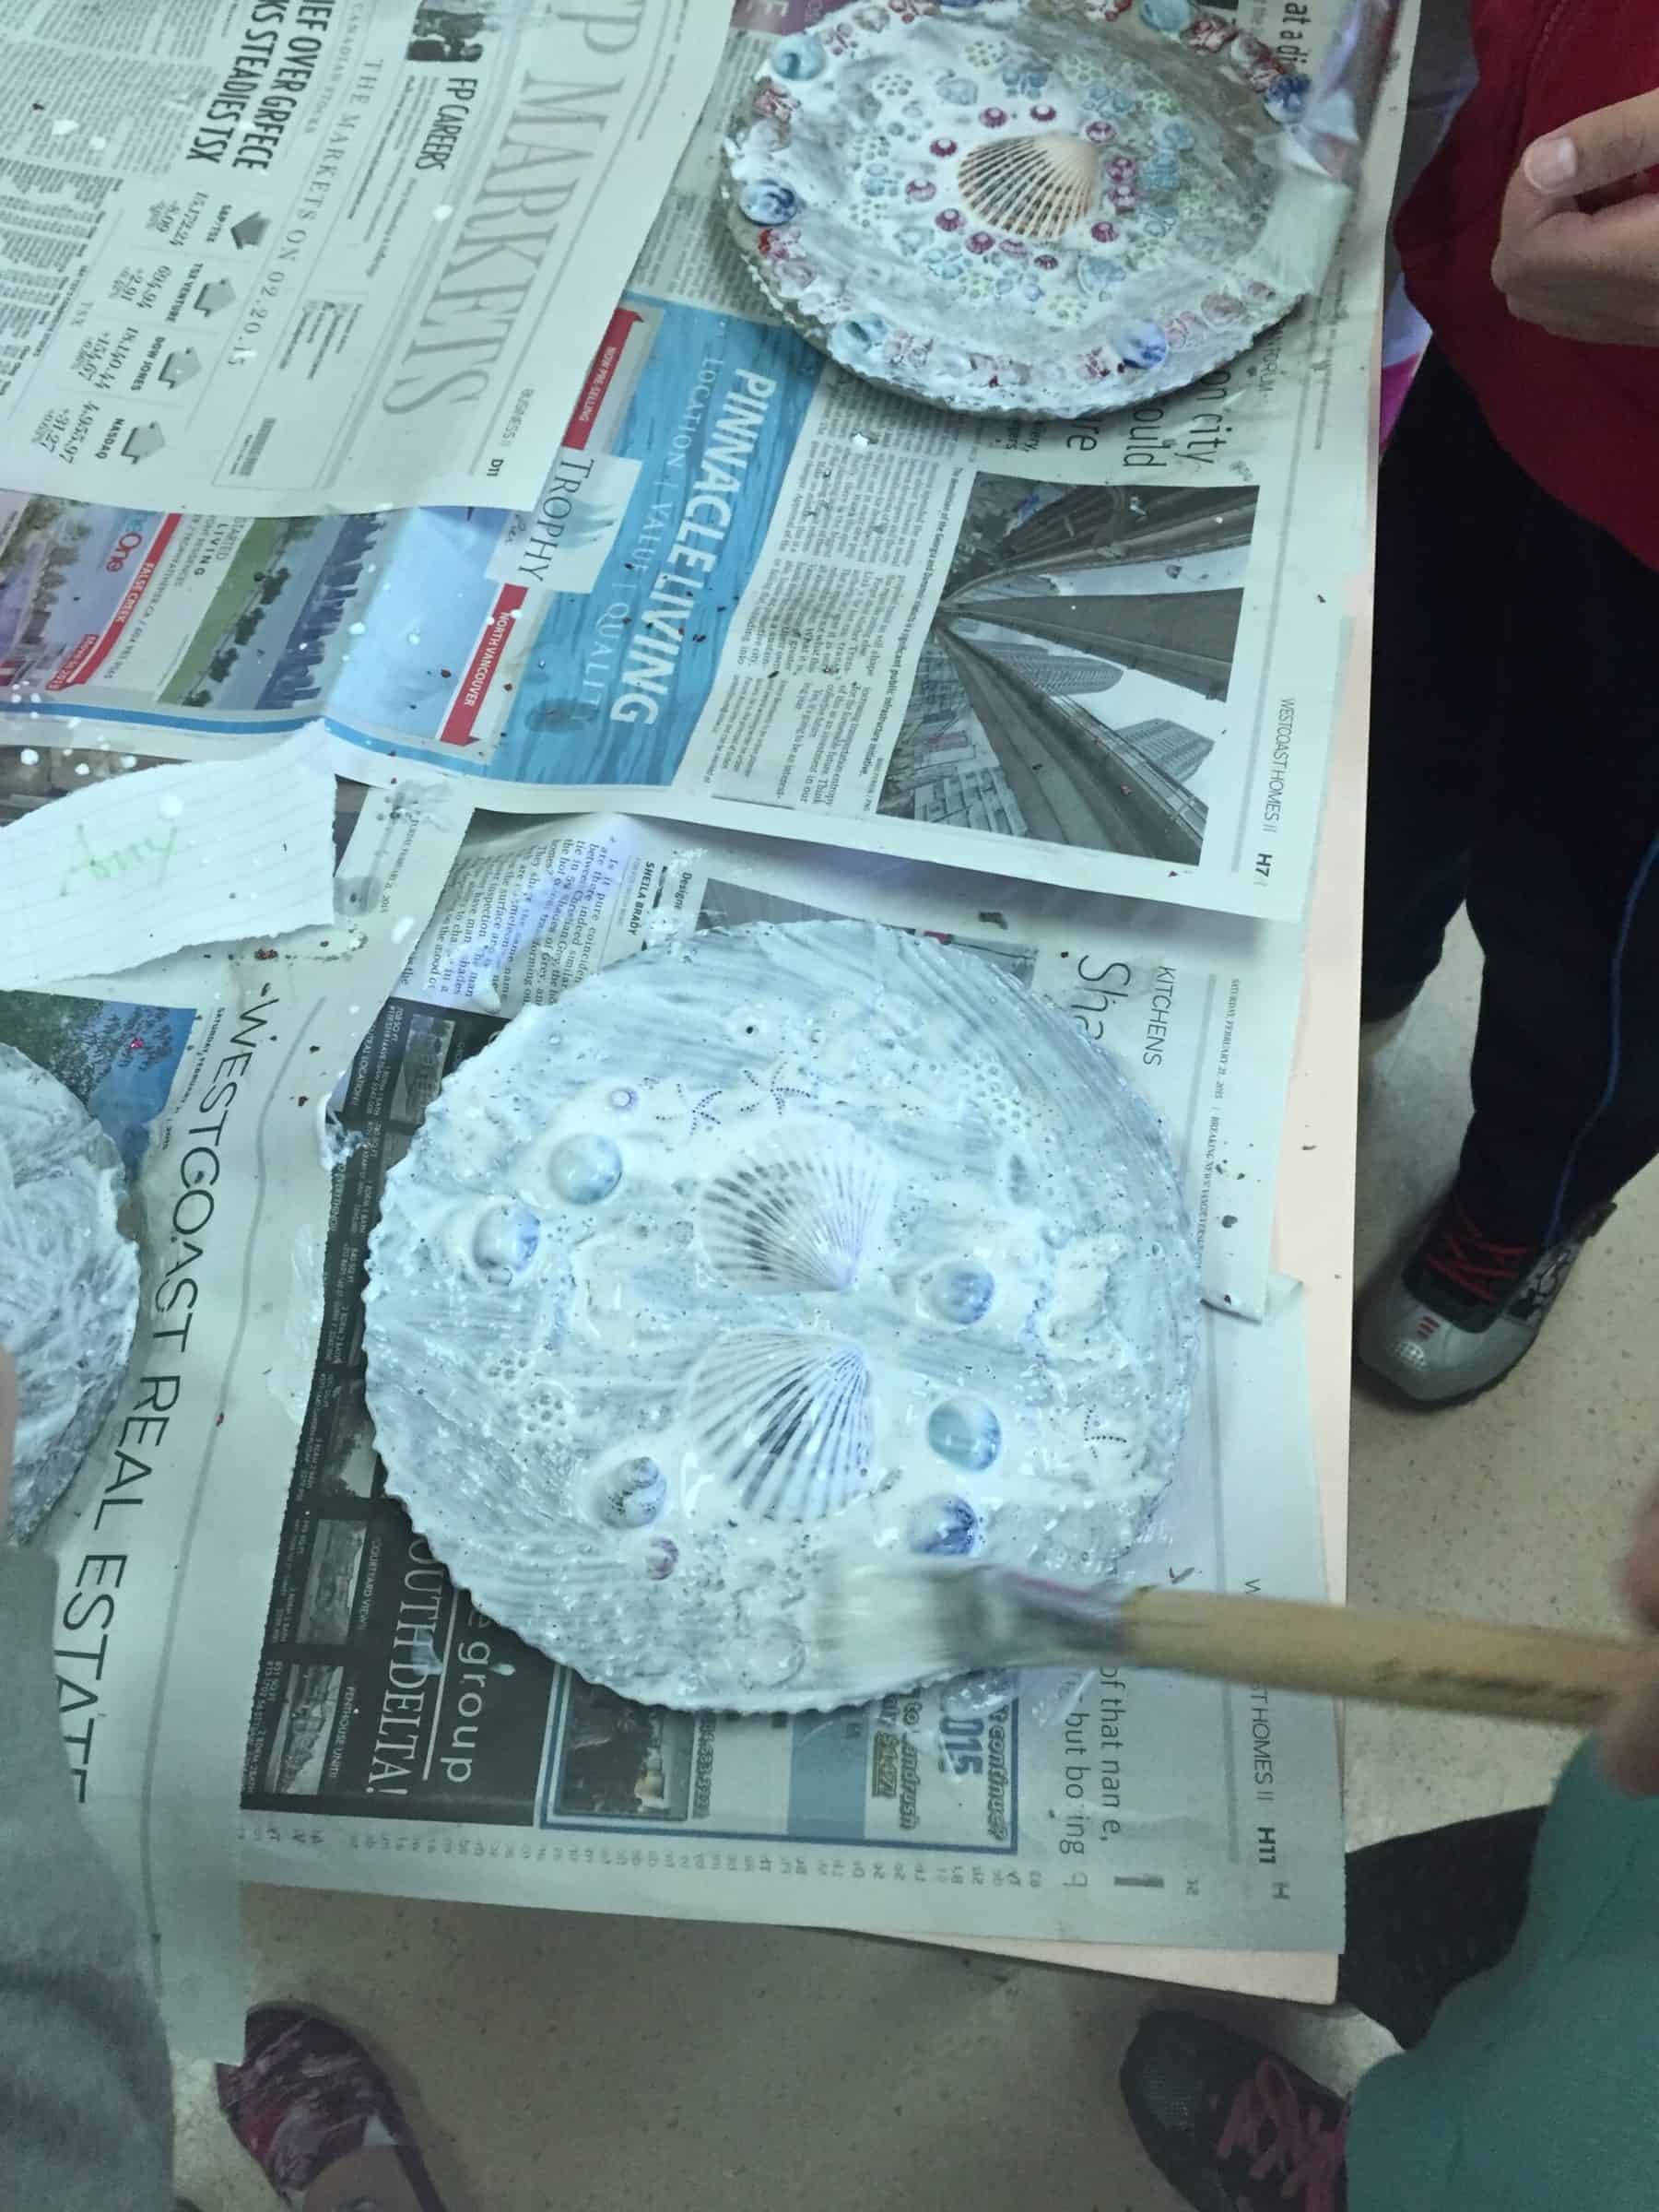
I like to paint the entire stone with a modge podge sealant to give it a shine and protect it from the elements. Let the sealant dry for at least a day.
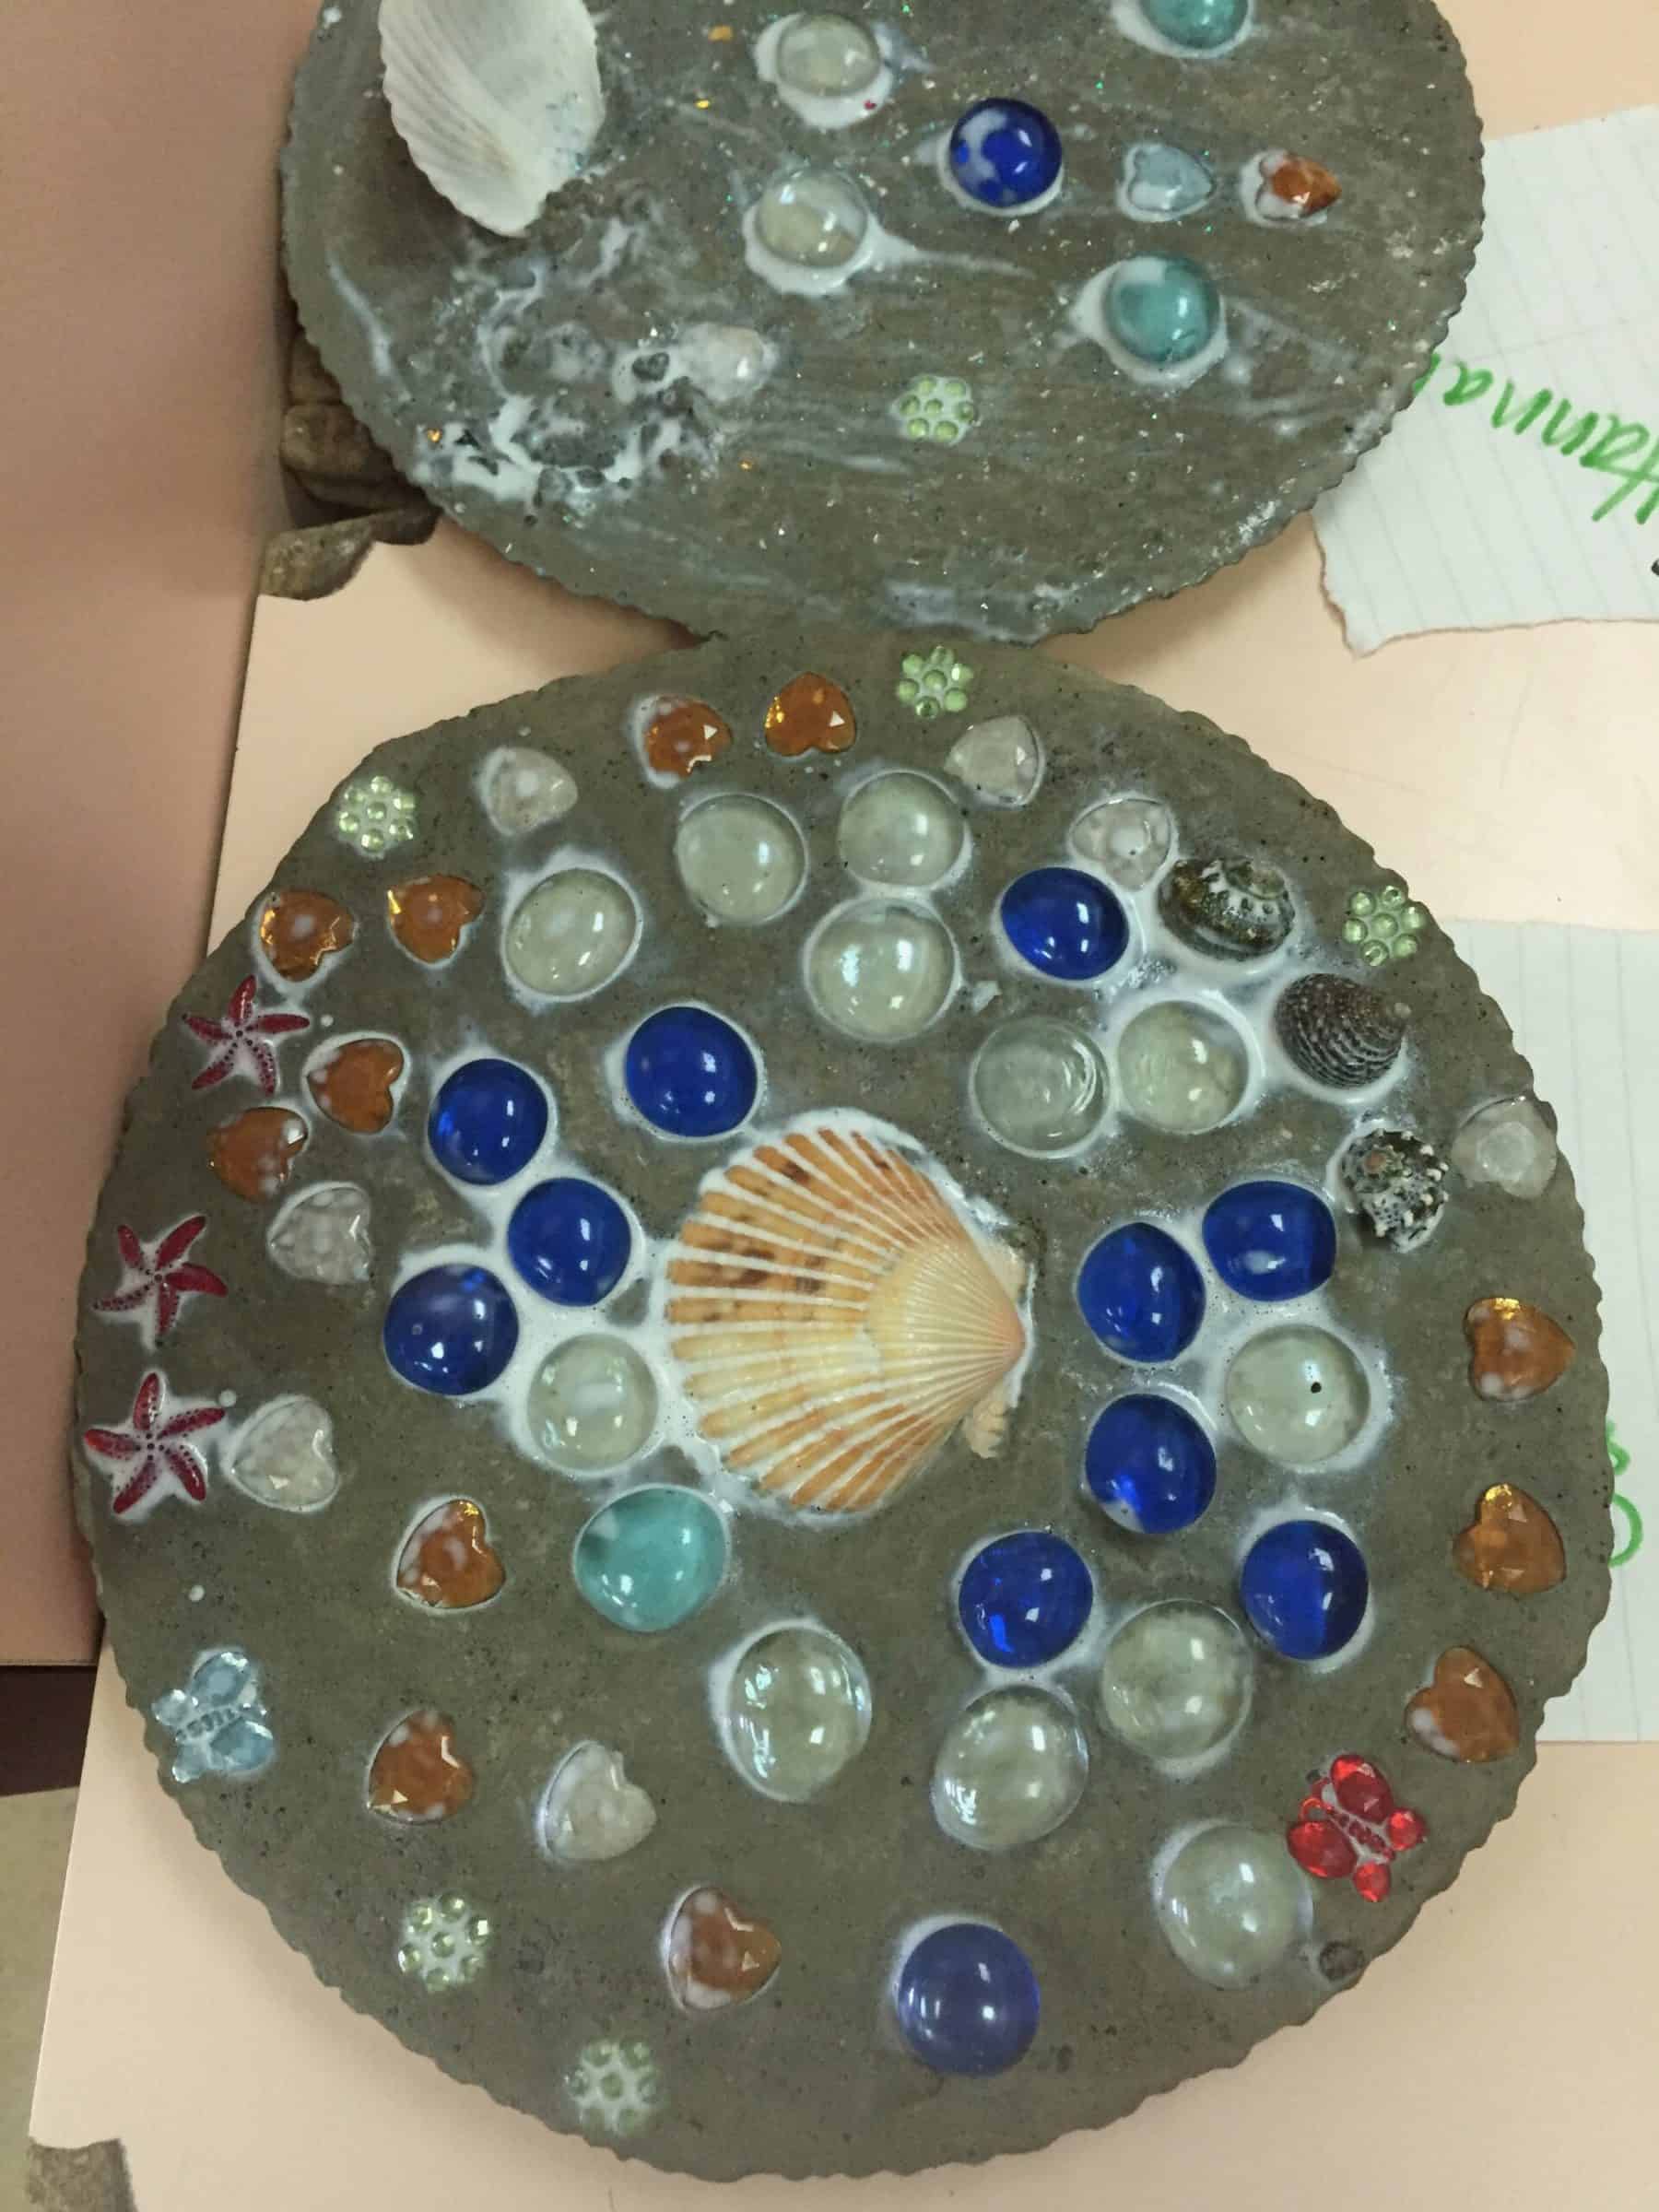
Wrap up each stepping stone to send home with the children. They can then place them in their garden to enjoy for years to come!